15th Feb 2024: Astro Pixel Processor 2.0.0-beta29 released - macOS native File Chooser, macOS CMD-Q fixed, read-only Fits on network fixed and other bug fixes
7th December 2023: added payment option Alipay to purchase Astro Pixel Processor from China, Hong Kong, Macau, Taiwan, Korea, Japan and other countries where Alipay is used.
Euh? I don't understand the question: the info in my dropbox contains:
PURE RAW (untouched) data from Vaonis Stellina (device software Version V.21 dd 30/10/2020)
this is important to future versions to compare to each other
(Reason: So Mabula and his team kan see for them selves what output this device really produces, this info is saved directly to an USB stick attached in the copartment of the Stellina without any interference of whatever)
=> This means the metadata is exactly as it comes out of the Stellina Telecope
21/11/2020 17:17 <DIR> _Session 1 BGGR
21/11/2020 17:17 <DIR> Darks Session 1_BGGR
PURE RAW (untouched) data from Vaonis Stellina device (after passing the zenith)
21/11/2020 17:17 <DIR> Darks Session 2 RGGB
21/11/2020 17:19 <DIR> _Session 2 RGGB
11/11/2020 10:25 6,393,600 BPM-stellina-bb468e-3072x2080.fits
Results I got after integretion by applying the method mentioned in the directory header:
22/11/2020 09:02 <DIR> integrated session 1 and 2 integration as one session many good images
22/11/2020 09:02 <DIR> integrated session 1 and 2 integration as one session only best images
21/11/2020 17:17 <DIR> integrated Session 1 integration only results
in the root, I placed:
Session 1 => BGGR + BGGR darks
Session 2 => RGGB + RGGB darks
Saved then the calibrated files
Do you have sufficient information with this?
Was this your question?
My main question was:
for the moment we have to treat this as 2 separate sessions which is logical (RGGB and BGGR session)
BUT for the moment each session is evaluated to each other within the session
eg within session one, my images may range from quality 420 => 117 (eg)
the second session may have a quality ranging from 397 => 50 (eg)
They are shown individually with respect to a reference, bu every session has his reference.
But what is the quality comparte to the images of session 1 and 2
to do that, I callibrate all my images, save those calibrated images (in the root of this dropbox link)
then reload all immages as 1 session (becaus all are callibrated)
If I go then to the star analysis or normalisation, I can compare all to 1 reference
hence it's much more relevant to eliminate the worst or non acceptible images
I Hope I did it right or used the right procedure? That's the only ting I'm not sure of
To let you gain some time, I uploaded those calibrated files in the root
People at APP told me a button will be there in the future which would allow us to compare the quality per session or as one whole session, which would aid a lot in skipping the worst frames
Correction, due to help from colleague astronomers, I made an error in my thinking process!
I can indeed do all what I described; the BMP will be processed as one despite the session split up.
Seen the sensor data is dumped inverted in the 2nd session, data of a sensor and inverted sensor are combined in the BPM! The only solution is to edit the BGGR and convert it to RGGB or vice versa so one has on set of Bayer identical frames. Someone has written an image data flip (ie including RGGB <=> BGGR) program in python (& astropy). Then you will notice that a part of the image is upside down, but APP is capable to handle this "meridian flip" looking image. The flip is here not at the meridian but near to the zenith, depending on the frame orientation at start.
I reprocessed the frames with APP, and the result is very good!
As I don't have a Stellina and I almost never see them, it's still quite puzzling to me how to tackle the data. But at least it's great to hear you found a solution! Is that script on github by any chance?
@vincent-mod, HI Vincent, not yet, but I'll attach some research to this post. including the astropy of our Collegue astronomer Paul De Backer connected to workgroups @ Urania, Hove, province Antwerp, Belgium. It's his contribution.
note:
I gave it the extention txt, please rename to .py to let the python script work. More info is in the pdf doc.
You don't need a Stellina ;-), I posted the data for you on my dropbox, it's still available.
Oh yes I know, thanks for the data. 🙂 I mainly meant that, since there aren't others using it a lot here, I haven't much experience with it. And this is quite the unique issue to have.
Thanks for the script, I'll also have a look at it, who knows we might make a "Stellina" button. haha Not a big chance though as this should be fixed by Stellina I think.
@vincent-mod I understand now what you ment ;-). And indeed proportionally, the number of people using APP and Stellina is small, but Since I wrote a small accessible tutorial, a lot of more experienced Vaonis Stellina users are testing APP right now! According to the data to get teh stacking even better, do you have recommendations in APP settings?
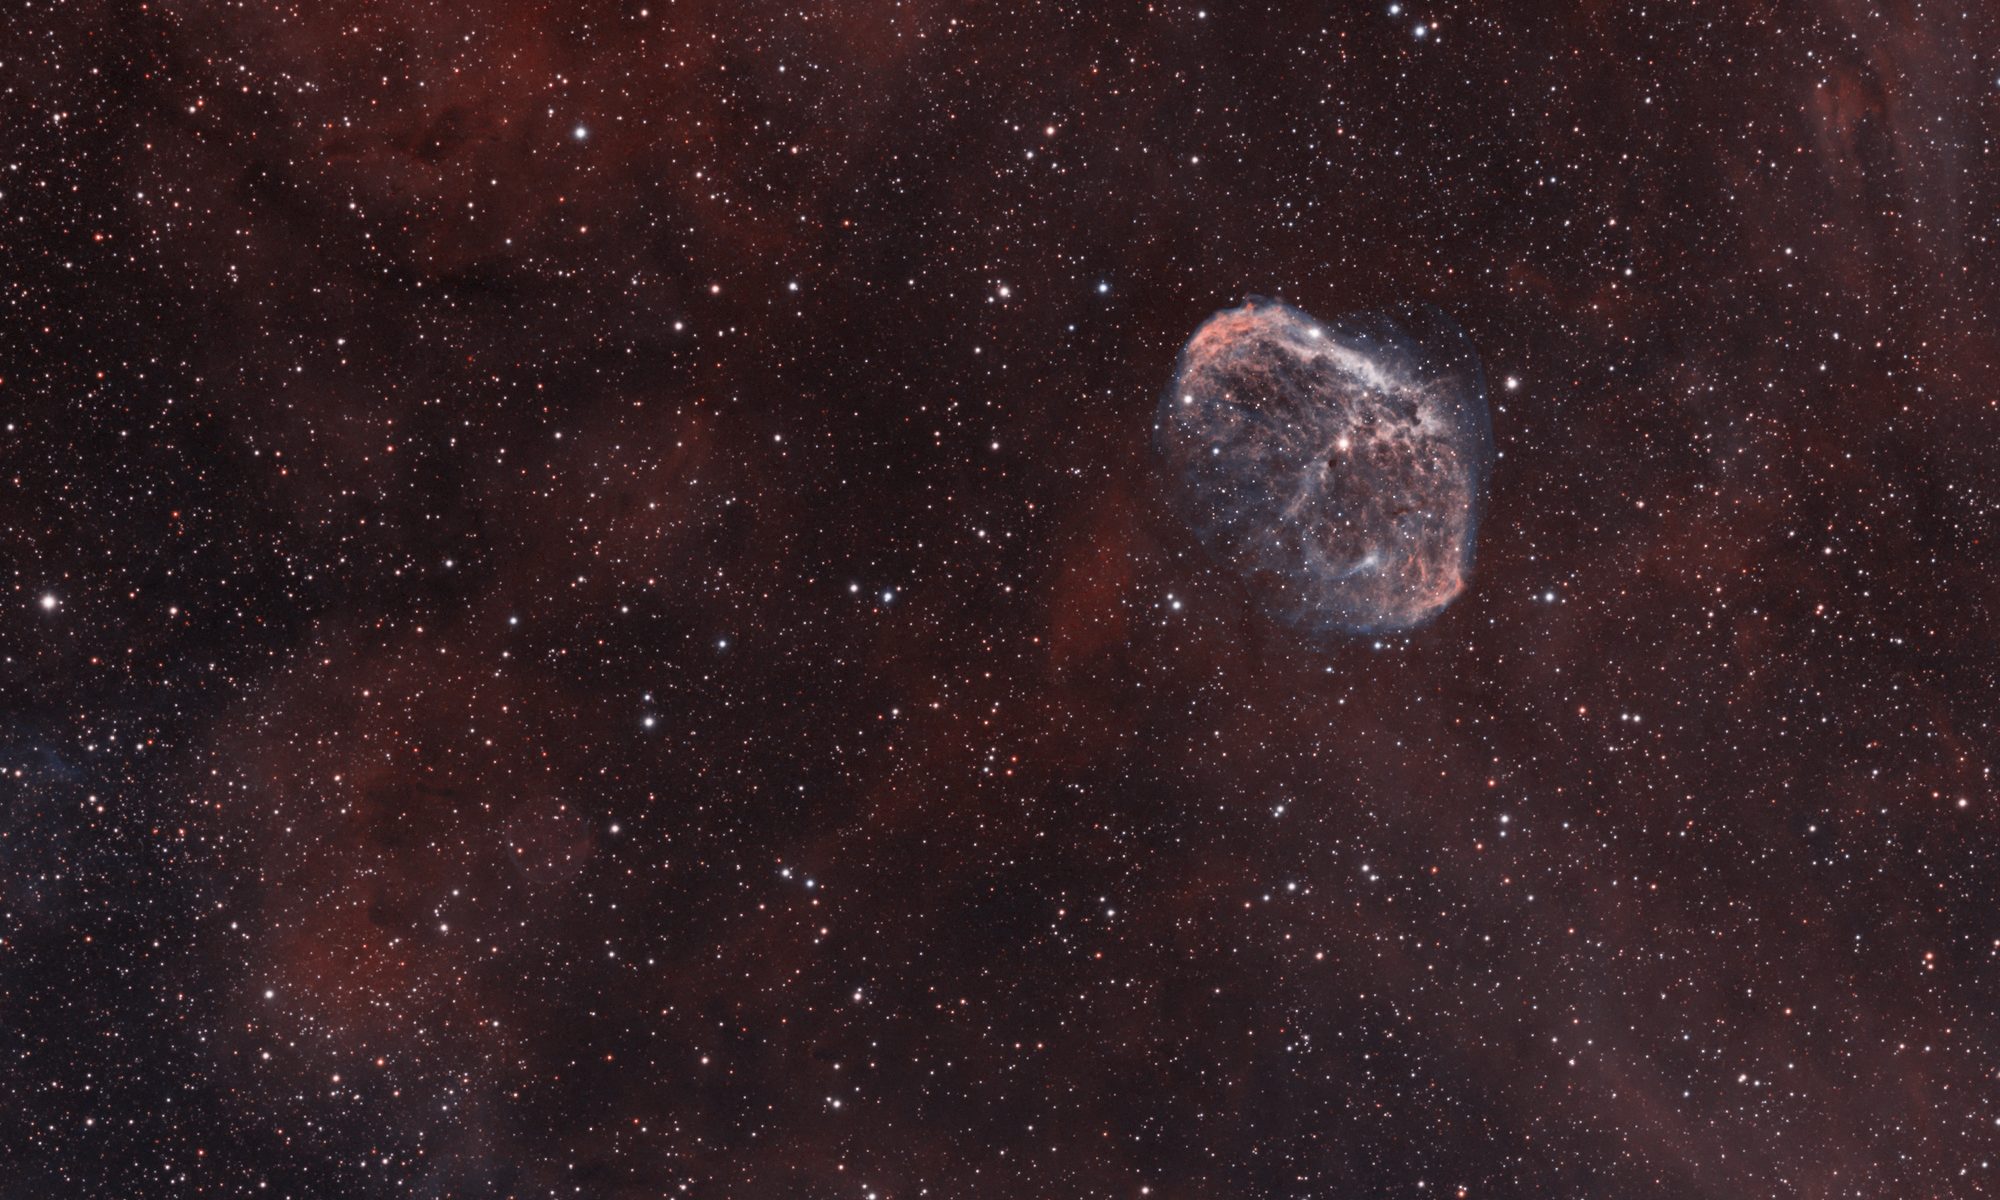
In addendum my last one, M1
processing of 15 december
Messier 1, Crab nevel
(5.9-8.1°C and 91.2-94.4% Humidity)
634 usable light FITS (of 10 sec gain 200, always by default) van de 1104 (tgv 2/8 alto cumulus)
117 Dark & Dark flats + 111 Flats
Extremely good SQM at my location (18.65-19.14) Bortle7, due to heavy rain just before observations.
Moon disk illumination 2.1%
APP post processing all RGGB, Topaz Denoize, light cosmetic touch in lightroom

@vincent-mod @Mabula-Admin, just an impression what my input did:
Make your flats with a low ISO or gain+offset to be able to increase the exposure length of the flats. They will be of better quality then.
The same can be said for the opposite, i.e. make the gain higher to lower the read noise. They will be of a better (but for different reasons) quality then. In fact, this is the advise given by SharpCap. I would say the right answer is both. Raise the gain and lower the light to get low noise and longer exposures. It's a balance, right?
Running an integration with the new 1.083b4 I got the calibration/clipping warning. This is a surprise since all gain, offset, time, and temperature are matched properly and I see no signs of leaks. Messing around a bit I noticed that when I exclude bias files I don't get the message. Could this be because I didn't include the bias when I made the master darks? I thought I did all in one go but it is possible I am misremembering. I guess if that were the case and I included the bias it would wind up being subtracted twice, once explicitly and once because it remains in the dark?
Unrelated question: can I omit darkflat master(or the master bias for flats if I used bias rather than darkflats) from future calibrations once I have made a master flat - it seems like this should be OK since it is removed in the master flat and the master flat is used for scaling not subtraction?
You can use darkflats for the flats and darks, bpm for the rest indeed. I'm not sure what happened in your workflow for that warning to pop up, but calibrating something twice might make sense. Also, when you have a sensor that doesn't behave well when shooting with the shortest exposure times, you can also get issues. And, the warning also pops up if your exposure length per subs is just too short, which happens easily with narrowband.
@mabula-admin Hello
According to the principles presented at the beginning of this thread, there are three ways to calibrate FLAT and LIGHT.
I think I can choose one of three.
I am confused between 2. and 3.
Both instruct me to calibrate using master dark, but 2. use one master dark, 3. use two master darks.
Why is there one master dark and two master darks?
Please tell me the case that I need two master darks.
☕ ☕
Hi @mo-mo,
The rules as described on the topic's first post are old. For the flats you need to read darks as flatdarks.
But 2 masterdarks (for lights) are needed of you have shot lights of different exposure times. Liker 300 seconds and 600 seconds. Then you would also create darks of 300 and 600 seconds which will result in 2 masterdarks.
Mabula
Thank you for your answer.
Are there any other changes?
I think this principle is important, so I would like to know other changes.
Thank you
I am somewhat confused about callibration.
What I do is apply flats and flatdarks only.
Is this ok as I have had some warnings pop up when callibrating. I tried including darks but the results were awful. I am using an ASI533 cooled to minus 10C.
Thanks
Flatdarks for flats is perfectly fine yes, flatdarks are basically almost like bias frames. If you use a dark that causes issues in the data, then you may have a problem with those darks.
Hi everybody,
I have already worked through this post several times to understand calibration principles. Thanks already!
While trying to calibrate my flats with a masteries of the same iso, I don't seem to find any output in the console window, that the Masteries has actually been "applied". Are there special steps to be taken for APP to calibrate the flats with the masterbias or does loading all relevant files (Flats, Masterbias, BPM) suffice?
Additionally, when trying to calibrate my lights, according to the rules laid out in the first post, with the masterflat and an additional Masterbias (in my case iso settings remain unchanged for any frames), the calibration preview shows a highly colour/luminance-distorted preview. This only changes when removing the Masterbias. Am I missing a step?
Thanks in advance
Hi Everyone,
Although I have been in this hobby for a while now I am only now really appreciating how essential good calibration is when facing issues like "pixel rain". I came across this topic
Data calibration principles/rules - must read !
but was somewhat alarmed that the discussion continued for 7 pages. I had thought that I had understood the basic principles and that it wasn't very complicated but now I am starting to doubt myself. Maybe the topic has been abandoned but I'll respond anyway. My objectives are two fold: to determine if I am being naive or, if not, to suggest a possible introduction to this very important topic to newcomers. Maybe Mabula or another high priest of APP could care to comment?
It seems to me that the primary source of confusion is that we are looking at this problem the wrong way round. I think it far better to start with the physics and specifically the two problems of attenuation and noise and then consider how this drives the calibration.
PHYSICS
Attenuation
In an ideal world the signal from the target would pass through the optical train (lenses, mirrors and filters) without attenuation. In the real world vignetting causes the signal to drop off towards the edge and then dirt ("dust bunnies") further attenuate the signal.
Note that this is only a property of the optical path to the sensor. If you took Lights at several different settings, but with the same optical train, the same attenuation would apply; it makes no sense to me to demand that attenuation calibration be taken under the same conditions as the Lights it is calibrating.
Noise
In an ideal world and in the absence of signal (lens cap on) every pixel should read out at 0. It doesn't because of 2 effects: thermal noise and readout bias.
Thermal Noise
Even in a solid the atoms are not still but vibrate. The energy of this vibration is sometimes sufficient to liberate an electron from an atom and then there is the possibility it is captured by the pixel. This effect depends
1) Monotonically on temperature. The higher the temperature the more the atoms vibrate and the more likely electrons are to be liberated. Of course that's why cooled camera are good.
2) Linearly in time. The longer the time the more electrons are liberated and captured.
3) Linearly in gain. The higher the gain the more the charge from the electrons is amplified.
From this it follows that to correct for this the calibration must exactly match the conditions (temperature, exposure, gain) of the Lights they calibrate.
Readout Bias
After the sensor has been readout all the pixels ideally should be reset to zero but in practice they are left with low non-zero values.
This bias away from zero is a fixed pattern regardless of the sensor operating conditions so one calibration set can be used for all Lights.
CALIBRATION
Calibration attempts to minimise the problems of attenuation and noise.
Noise: Darks and Bias
Conceptually calibration is simple. Take a light frame which contains signal + noise. Then take a dark frame under exactly the same conditions which will just contain noise and subtract the second from the first. My Panasonic DC-TZ200 for example, does exactly that. Of course the noise is random so it is better to take lots of Darks and average them.
It is possible to separate out the two types of noise. Thermal noise is linear in time so if the exposure is very short then it becomes negligible compared to the readout bias. We have already learned of this thread that some sensors don't play nicely at very short exposures so for them there is a limit on how short an exposure can be.
I want to check I understand why we would want to separate them. By taking a set of very short exposures we can average to form a Master Bias. Then if we take a Dark with a very long time (say T) and subtract the Master Bias we just have a Master Dark of thermal noise at a given gain and temperature. As the noise is linear in time we can the synthesise a Dark of the same gain and temperature for an arbitrary time (say t) just by rescaling the Master Dark by the ratio t/T and then adding in a Master Bias. Have I got that right?
Sensor Offset
As I understand it is an offset the user can specify that is added to every pixel to avoid the zero problem. When subtracting noise, it is the average that is subtracted but on any individual frame the actual noise could be more or less than this. If less and if is insufficient signal then the result could be a negative value which is non-physical. By adding a small offset this is prevented. This means that the offset used has to be part of the condition set so must be the same for the Darks as for the associated with the Lights.
Noise calibration is all about the properties of the sensor and although that ages, it is a slow process so I would have thought that the calibration files would be robust and would not have to be retaken frequently.
Attenuation: Flats and Dark Flats
Again, conceptually correcting for this is straightforward: expose the sensor to a flat (uniform) light source and measure the intensity averaged over all pixels. Then, for each pixel, compute a scale factor that is the ratio of its intensity to this average. To correct a Light frame, for each pixel scale its intensity by the inverse of the scale factor. To get a good measurement the average of a set of Flat frames is required. Of course when obtaining a Flat frame what is readout is again the signal plus noise, consequently it too must have the noise subtracted with its own Dark set (Dark Flat) taken with the same conditions as the Flats.
Attenuation calibration is fragile. It is all about the optical train including the relative orientations. Change focus or rotate the sensor and it changes. It seems to me the only safe thing to do is to take them each time you take a set of Lights and for that it is much more practical to use an artificial light source. I have seen claims that a cheap light pad used for tracing will do the job and if so expense isn't an issue. For smaller aperture scopes there even apps to provide a uniform screen on a mobile phone.
If I have understood the subject then this all boils down to
1) Every few months (on a cloudy night) rebuild a Darks library for all the conditions you use.
2) For each Lights session take Flats and Dark Flats.
3) Into APP feed the Lights and their Flats and Dark Flats along with the appropriate Darks (or Mast Dark and Master Bias) from the library and then let APP do the rest.
Will such a simple procedure work or am I missing something?
@nickwest Hi Nick,
With modern CMOS cameras it is sufficient to renew the dark library every year or even less. If you take bias along with the darks at the same gain, offset and temperature then one master bias and one master dark suffice. Regarding flats, yes you probably should take flats every time you image though if you don't transport the telescope and leave the camera (and filter wheel if you use it) in place then you can reuse the flats. Regarding dark flats, for those applies the same as for darks. As a matter of fact, if you use a master dark and a master bias, you don't need to take dark flats and APP will use the master dark (scaled to the appropriate exposure time of the flats) instead. Note that this means that the flats need to be taken at the same gain, offset and temperature as the darks and bias. This is easy with a cooled astro camera and may be problematic with a DSLR.
HTH, Wouter
Thanks Wouter.
Nick
