June 24 2026 APP 2.0.0-beta46 has been released !
Improved internal memory configuration (lower ! memory usage), fixed beta45 startup issue, fixed Set Save Directory & 2-panel mosaics.
May 27 2026 APP 2.0.0-beta45 has been released !
Fully Multi-Threaded LNC, many improvements for the registration engine, platform upgrade, and further tuning of internal memory consumption and memory release back to OS.
Apr 14 2026: Google Pay, Apple Pay & WeChat Pay added as payment options
Update on the 2.0.0 release & the full manual
We are getting close to the 2.0.0 stable release and the full manual. The manual will soon become available on the website and also in PDF format. Both versions will be identical and once released, will start to follow the APP release cycle and thus will stay up-to-date to the latest APP version.
Once 2.0.0 is released, the price for APP will increase. Owner's license holders will not need to pay an upgrade fee to use 2.0.0, neither do Renter's license holders.
Hi,
I just realised my flats are ruined because of my camera's red LED lights when using the Hyperstar. I used to have them covered with black tape, but had to remove the tape and forgot to put it back, ruining 3 nights of perfect conditions to photograph M101's supernova (rookie mistakes, which I'm prone to make a lot of).
So, when I stack I get these horrible colour gradients in my photos. A gree hue on the left hand side and a purple hue on the right hand side.
Can I get rid of them?
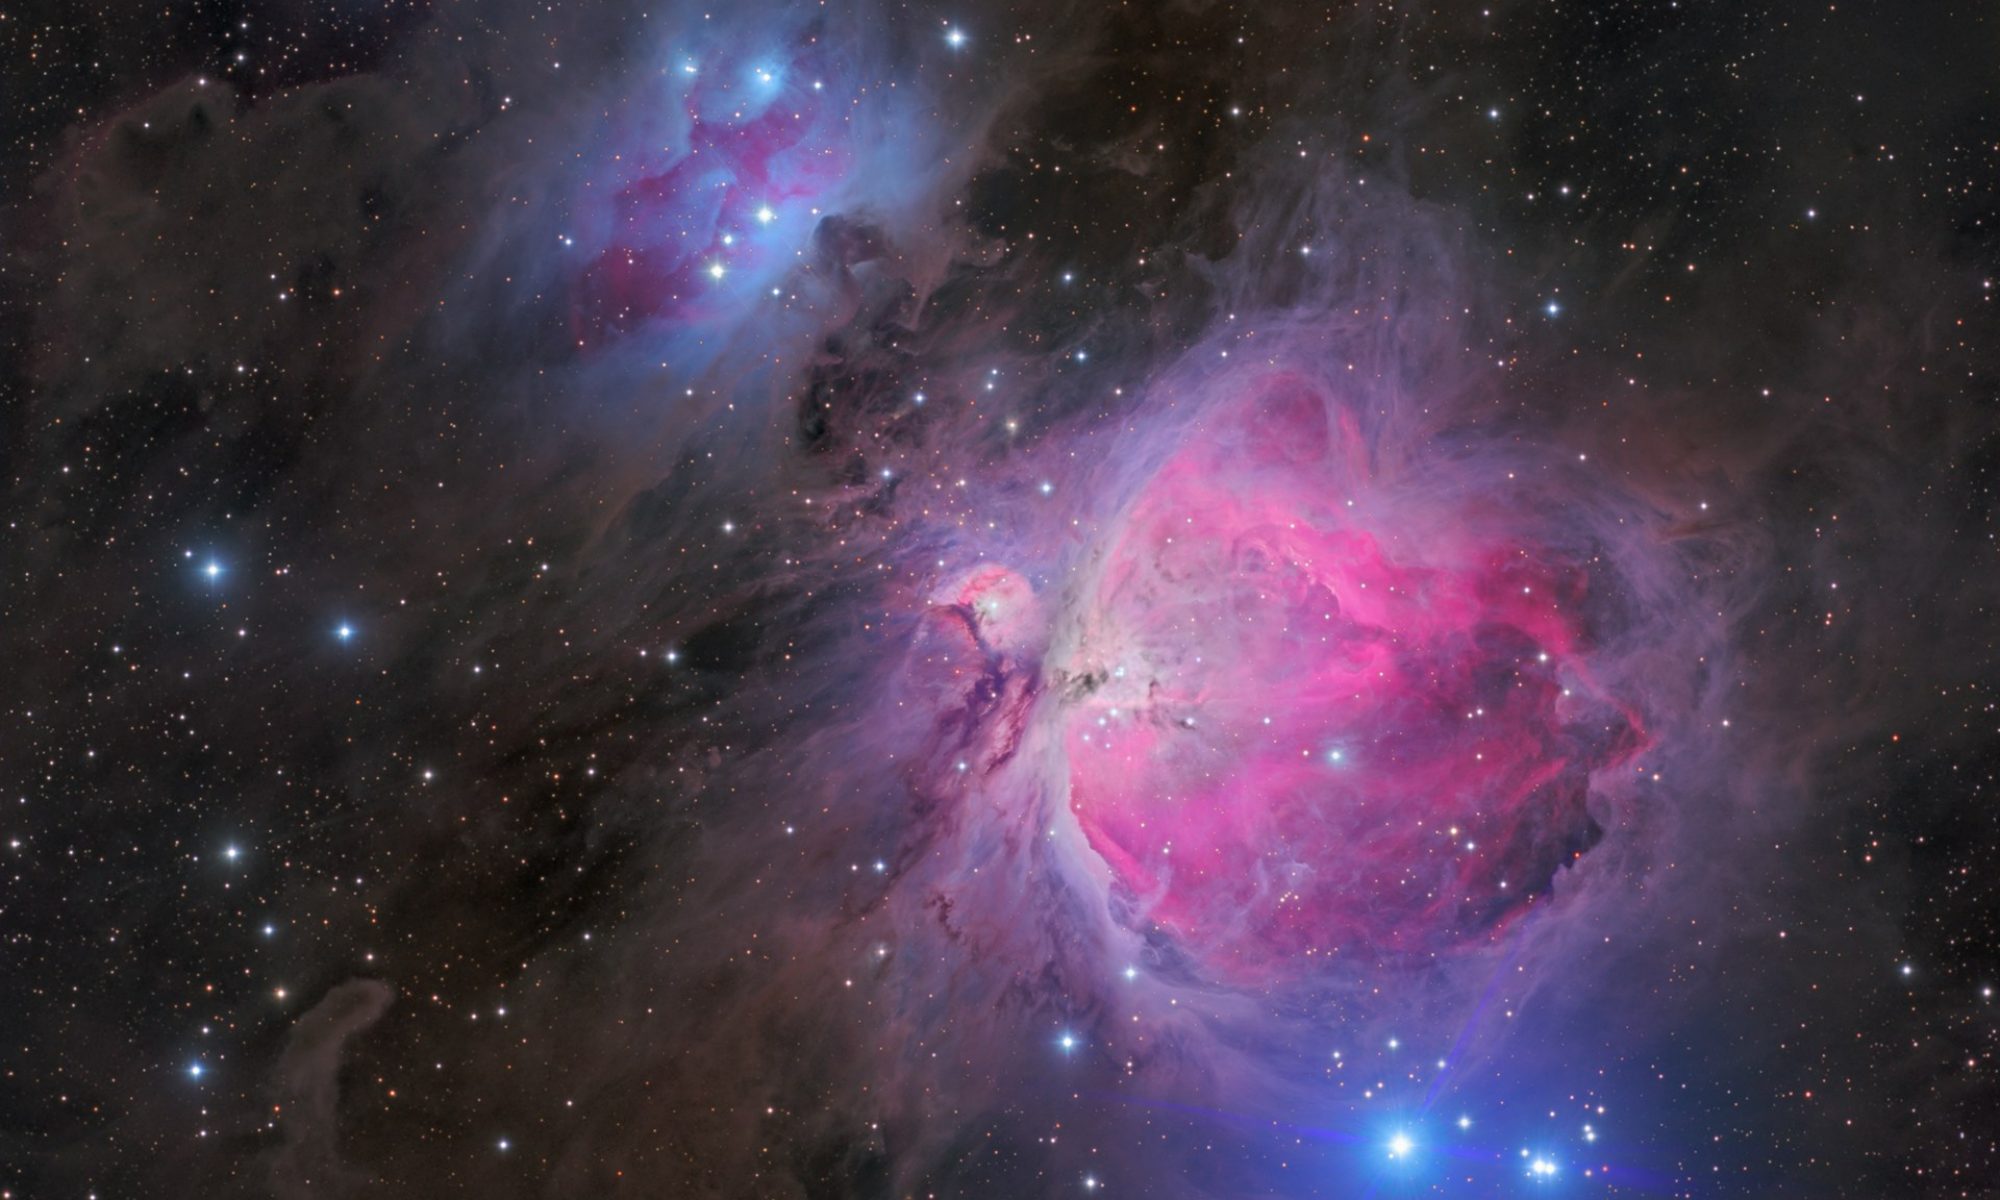
Here's an example: https://drive.google.com/file/d/1oW6anLUyrcN1z3asrk5p9yPmgCx7rFHI/view?usp=sharing
Hi Nelson @nsousa,
I would think that it can be correct mostly with the Remove Light Pollution Tool, an explanation is here:
Mabula
Thanks for the reply, I'll test the light polution tool. Where's the best place to put the squares? Only in areas with light I want to remove? Or a few also on areas without noticeable issues? I know about the "avoid nebulosity" rule.
The best way to do this is to place them a bit all over the place (and I'm talking about 5-10 squares to begin with) in areas without any nebulosity. Avoid placing them directly on the problem areas, first check what the tool does. Then slowly add squares towards the problem area, checking each time the result.
