This is mainly a bug fix release for the reported bugs in beta47. In addition it has a significant User Interface performance improvement noticable when you need to process 1000s of images in APP.
2026-10-03 APP 2.0.0-beta47 has been released !
This is a very big release... many code optimizations/rewrites, many parts of APP are much faster and more precise, especially star analysis and registration are much faster ! Big mosaics will go much faster 🙂
And we introduce a new preview filter, which includes the new Adaptive Deep Sky Stretch and a General Levels Stretch, this has been long over due. The old preview filter (the panel on the right side to stretch and preview your data) has not been updated for a couple of years and it is a critical part of any APP session.
Adaptive Deep Sky Stretch or ADSS is a much more intuitive stretch algorithm. It is also color preserving (which is a great new addition in itself ! ) which means that the highlights are no longer bleached, color is maintained from the linear data while stretching. You can simply stretch your data using the sky background level and signal width sliders which work much easier and more intuitive. You no longer need to fiddle with the old complicated sliders with zoom buttons. All the zoom buttons for the sliders are made redundant. And you can enter slider values in the slider value fields yourself. I will make a youtube video in the coming days to explain and fully introduce ADSS. Once the video is ready, it will be highlighted on the forum.
RGB Combine upgrade !. The RGB Combine Tool has been rewritten mostly. The tool is faster and easier to use and most importantly, the Luminance slider to inject a luminance channel or channels into the RGB composite is now working correctly. It no longer bleaches the RGB colors. Combined with the new ADSS preview, you will get much better and easier great composites with great color! I will also explain this in a new youtube video.
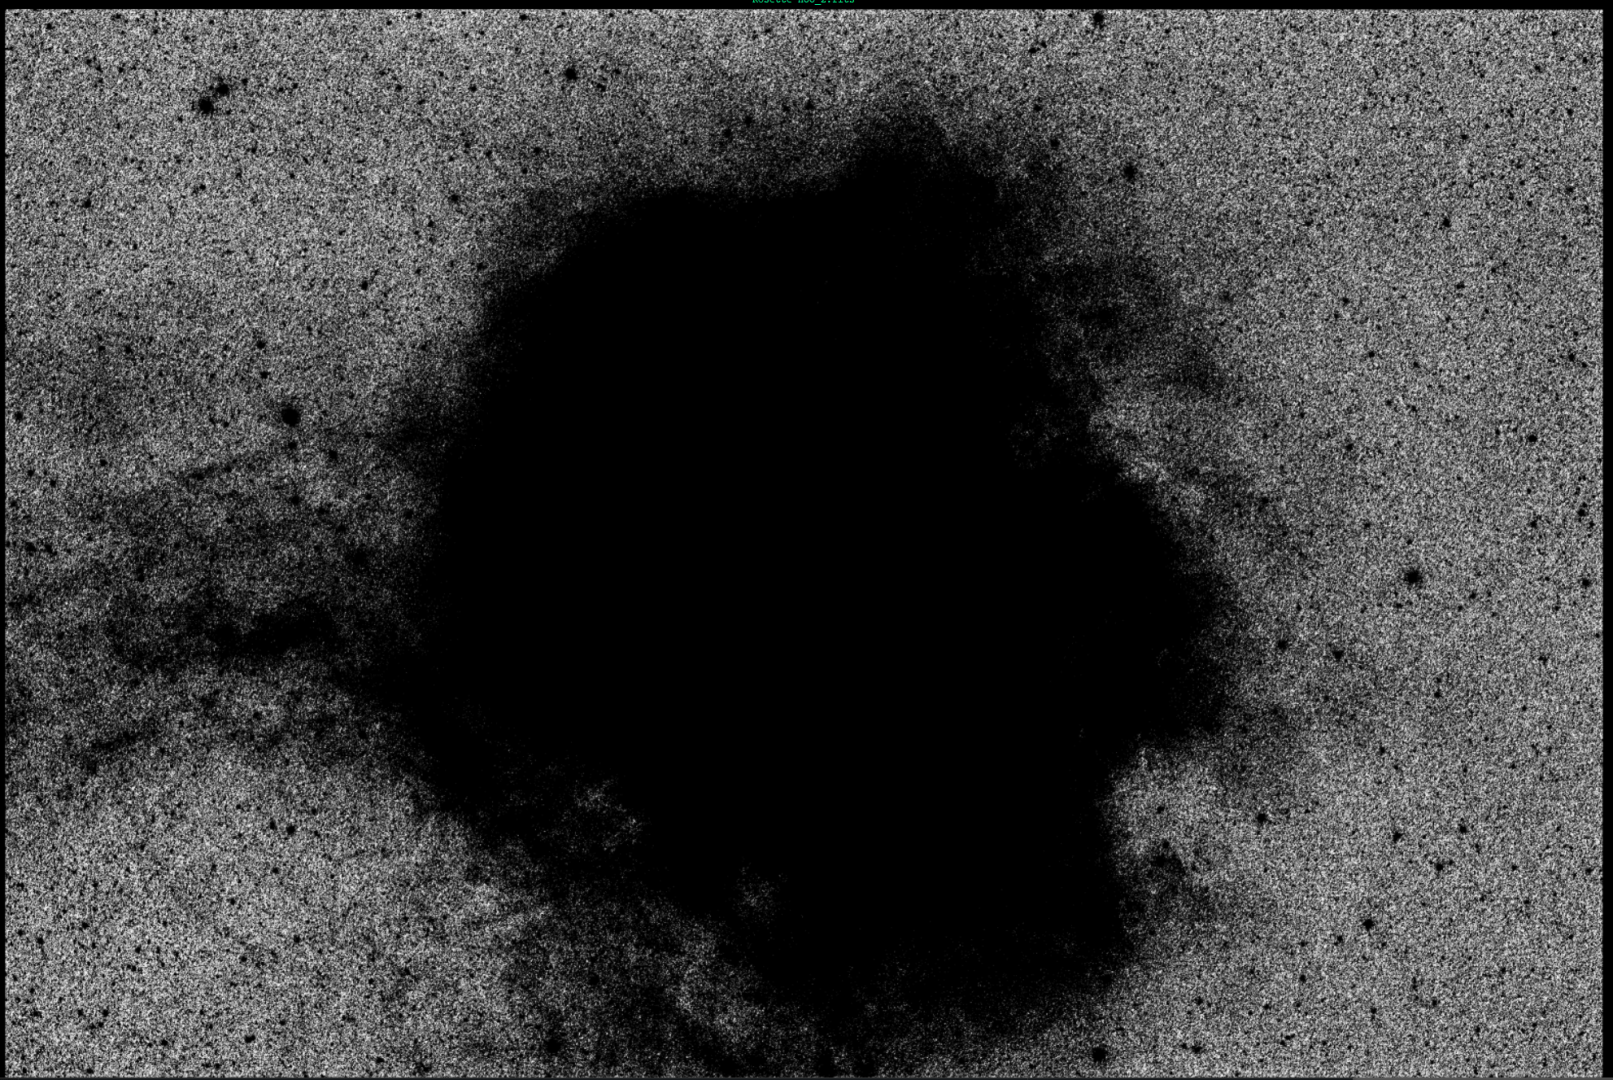
3) Kill background color noise, select ALL pixels from 0-background + 1*noise and check the selected pixels with the show color selection button :
The weak H-alpha emmisions will not be harmed by this selection as can be seen in the mask :-). Those faint signals are visually above the noise level and that is represented by the background +1*noise threshold. Simply set saturation to -100 which kills the color noise on the selected pixels.
I just learned how to remove background color noise. Thanks, but I have a little problem. Mabula explains that you have to move the saturation slider to -100. Is that only possible in beta 2.00? I can't install it because it doesn't run under MacOs Catalina (10.15.7) and in my version of APP (1.083.2), the saturation slider only goes from 0.00 to 0.50 and even if I move it to 0.00, I don't see any change in the background... Am I doing something wrong? Thanks in advance.
I'm also a "barely scratch the surface" APP user and just read this entire thread. I'm only doing EAA and mostly with an OSC and many times with a narrowband filter. Either an IDAS-NBZ or Antlia ALP-T highspeed.
The only workflow I've used so far is to load a single light which is a 16-bit FITS file live stack output from SharpCap. I'll then use the Tools to rotate, crop and light pollution/calibrate. Then I save a TIFF that I further process in Photoshop.
I would like to better understand how to implement an Ha-OIII workflow from a single narrowband light frame. I have a sample file for Sh 2-229 that might be useful in helping me better understand things.