
2026-10-09 APP 2.0.0-beta48 has been released !
This is mainly a bug fix release for the reported bugs in beta47. In addition it has a significant User Interface performance improvement noticable when you need to process 1000s of images in APP.
2026-10-03 APP 2.0.0-beta47 has been released !
This is a very big release... many code optimizations/rewrites, many parts of APP are much faster and more precise, especially star analysis and registration are much faster ! Big mosaics will go much faster 🙂
And we introduce a new preview filter, which includes the new Adaptive Deep Sky Stretch and a General Levels Stretch, this has been long over due. The old preview filter (the panel on the right side to stretch and preview your data) has not been updated for a couple of years and it is a critical part of any APP session.
Adaptive Deep Sky Stretch or ADSS is a much more intuitive stretch algorithm. It is also color preserving (which is a great new addition in itself ! ) which means that the highlights are no longer bleached, color is maintained from the linear data while stretching. You can simply stretch your data using the sky background level and signal width sliders which work much easier and more intuitive. You no longer need to fiddle with the old complicated sliders with zoom buttons. All the zoom buttons for the sliders are made redundant. And you can enter slider values in the slider value fields yourself. I will make a youtube video in the coming days to explain and fully introduce ADSS. Once the video is ready, it will be highlighted on the forum.
RGB Combine upgrade !. The RGB Combine Tool has been rewritten mostly. The tool is faster and easier to use and most importantly, the Luminance slider to inject a luminance channel or channels into the RGB composite is now working correctly. It no longer bleaches the RGB colors. Combined with the new ADSS preview, you will get much better and easier great composites with great color! I will also explain this in a new youtube video.
For my pictures I use a modified canon 600D. I have noticed by using the calibrate star colors the red colors of nebulae disappear.
So I use only use remove light polution. Is this right or am I missing something?
Hi Hans @hans_van_overzee,
I think it's safe to say, that the red color is not gone. Probably the initial star color calibration settings need to be adjusted a little bit. Have you played with the settings?
Have you checked enabling the saturation in the preview filter?
If you share your data, I will have a look at it 😉
Mabula
Ha Mabula,
Thanks for your offer, it is most appreciated.
I will send you the stacked, light pollution and star color Tiff files by wetransfer.
The picture is made with 14 lights of 4 minutes, 6 darks, 20 flats and 50 BIAS frames.
Thanks a lot!
Hans
I just noticed something I use een light polution filter on my camera.
I did not use this in the program.
Does this make a big difference for the quality of the end result?
Hans
Hi Hans @hans_van_overzee,
Thank you for providing your data.
A light pollution filter should increase contrast in your data, especially when used in heavily polluted areas of the sky. It accomplishes this by blocking part of the regular visual wavelengths as you know. This means that not all color of all stars and nebulosity are recorded by your camera since it is blocked by the filter.
This then usually means somewhat different settings in the Star Color Calibration tool. The settings to be used in this tool are dependant on both the used camera and the used filters. If you use another filter, the settings will be different.
This is your data that you corrected for gradients, looks great by the way 😉

The data is very red though, this is partly due to the filter. The star colors, especially blue ones, are not correct, they are blue/green, which is called cyan. So a small correction is needed I think.
This is what I get with the star color calibration, the initial red color dissapears, because due to the filter, red is much stronger as expected with regard to the blue and green wavelengths. We need to correct for this in the settings of the tool:
model Black Body and extinction
star rejection kappa 2.00
blue-red: 0.10 (making it redder !)
B-G vs G-R
slope 0.80
constant -0.15 (reduces green cast)
B-R vs G-R
slope 1,60
constant -0.15

Select star areas not too much affected by the Red Nebulosity of the clear Hydrogen alpha emissions clouds 😉
Let zoom in on a blue and yellow star, left is before calibration, right is after:
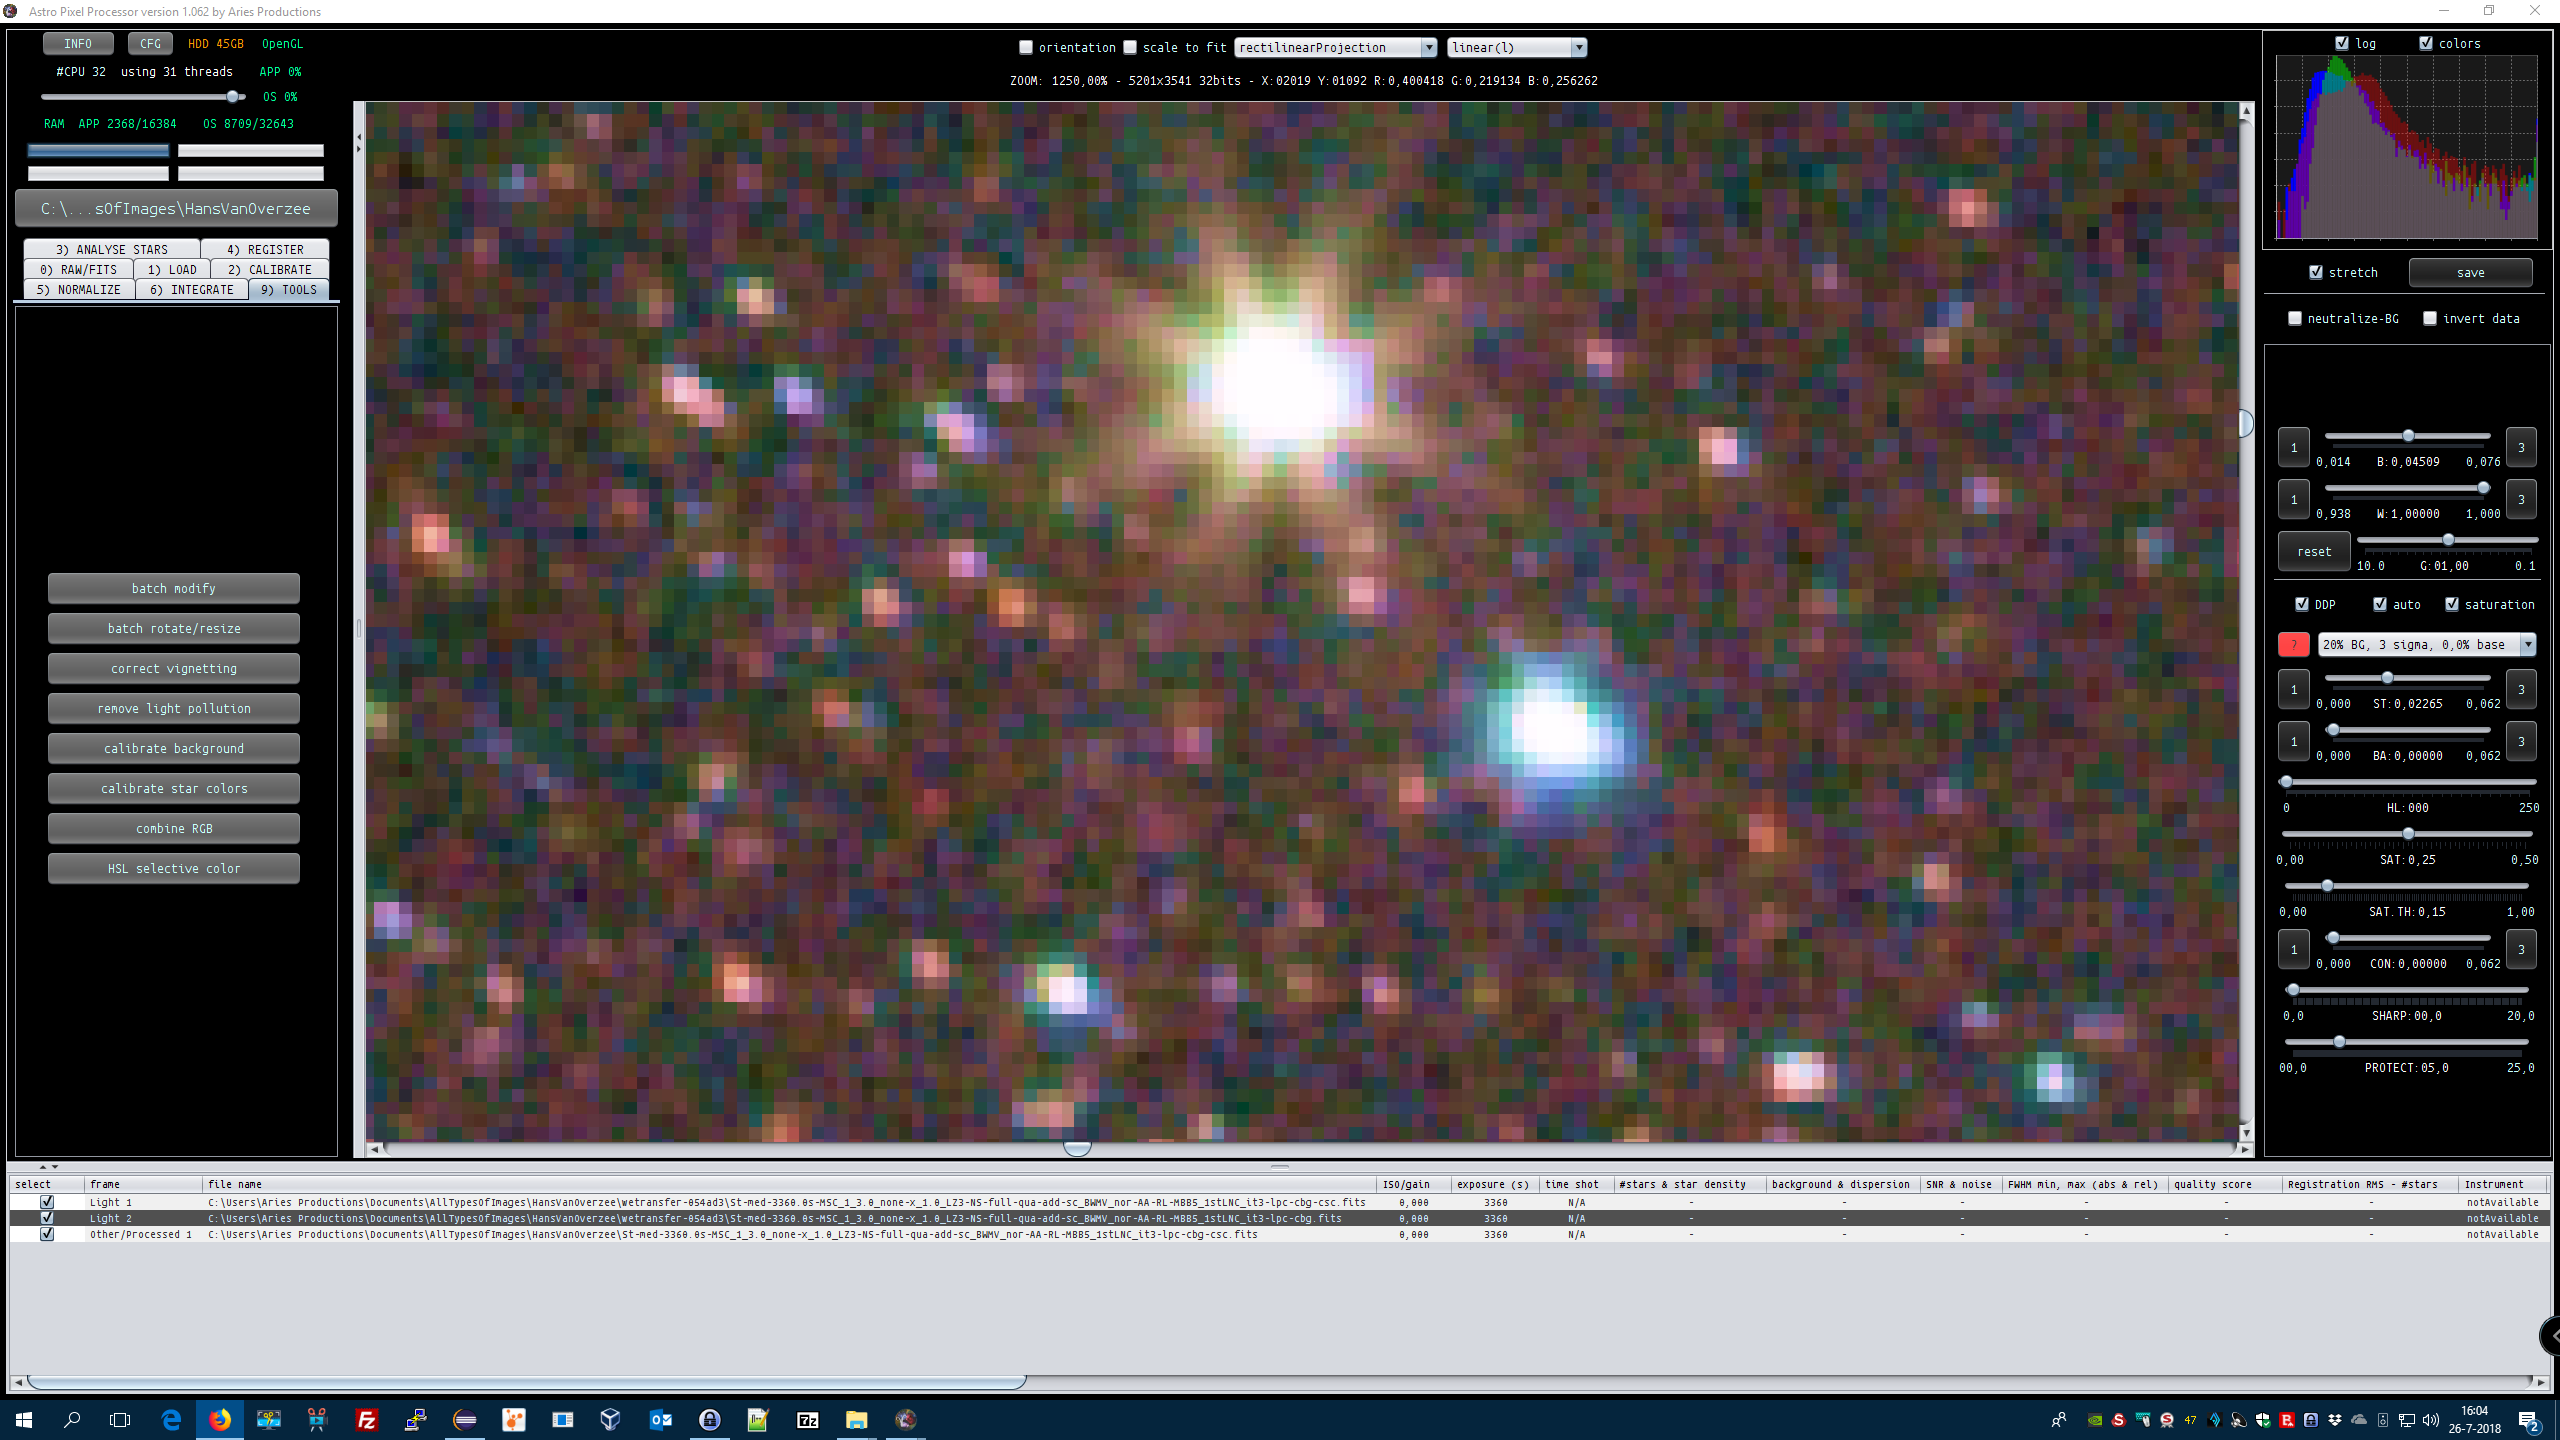

What do you think of this calibrated result?

I used these preview filter values on the calibrated data, to give you an idea of what I did with the preview filter:

Kind regards,
Mabula
Ha Mabula,
Thanks a lot for your very long answer.
This will bring me a lot further.
Kind regards,
Hans
