

2026-10-09 APP 2.0.0-beta48 has been released !
This is mainly a bug fix release for the reported bugs in beta47. In addition it has a significant User Interface performance improvement noticable when you need to process 1000s of images in APP.
2026-10-03 APP 2.0.0-beta47 has been released !
This is a very big release... many code optimizations/rewrites, many parts of APP are much faster and more precise, especially star analysis and registration are much faster ! Big mosaics will go much faster 🙂
And we introduce a new preview filter, which includes the new Adaptive Deep Sky Stretch and a General Levels Stretch, this has been long over due. The old preview filter (the panel on the right side to stretch and preview your data) has not been updated for a couple of years and it is a critical part of any APP session.
Adaptive Deep Sky Stretch or ADSS is a much more intuitive stretch algorithm. It is also color preserving (which is a great new addition in itself ! ) which means that the highlights are no longer bleached, color is maintained from the linear data while stretching. You can simply stretch your data using the sky background level and signal width sliders which work much easier and more intuitive. You no longer need to fiddle with the old complicated sliders with zoom buttons. All the zoom buttons for the sliders are made redundant. And you can enter slider values in the slider value fields yourself. I will make a youtube video in the coming days to explain and fully introduce ADSS. Once the video is ready, it will be highlighted on the forum.
RGB Combine upgrade !. The RGB Combine Tool has been rewritten mostly. The tool is faster and easier to use and most importantly, the Luminance slider to inject a luminance channel or channels into the RGB composite is now working correctly. It no longer bleaches the RGB colors. Combined with the new ADSS preview, you will get much better and easier great composites with great color! I will also explain this in a new youtube video.
Hi Mabula,
this is a crop of my first stack with default settings in AP.
There are some Pattern with red, blue and white Pixels inside

.
I try AHD and the pattern is there too, only less. Kamera is 600da, Filter IDAS LPS-P2
regards
Dirk
Hi Dirk,
These are definitely bad (hot) pixels. By far, the best way to remove these in calibration is by using a bad pixel map:
You'll need a couple of flats (let's say 10) and some darks (use 20-50 ) of exposures of a couple of minutes. (longer exposure lengths for the darks will make a higher quality Bad Pixel Map.)
The Bad Pixel Map is much more efficient in removing bad pixels than using a Master Dark from a set of darks since
- hot pixels don't behave linearly, so a Master Dark will (very likely) never correct all bad pixels perfectly.
- the bad pixel map won't introduce noise since it corrects the bad pixels by interpolation from the surrounding "good" pixels.
I have placed an example of a Bad Pixel Map correction in the creating-a-bad-pixel-map post:
"An example of Bad Pixel correction using a Bad Pixel Map:
a Canon CR2 light frame of 600s exposure length, ISO200, Canon 450D (courtesy of Scott Rosen) corrected with a Bad Pixel Map created out of 100 darks of 600 seconds exposure length.
A crop of the sensor is shown, showing plenty of bad pixels which we want to remove.
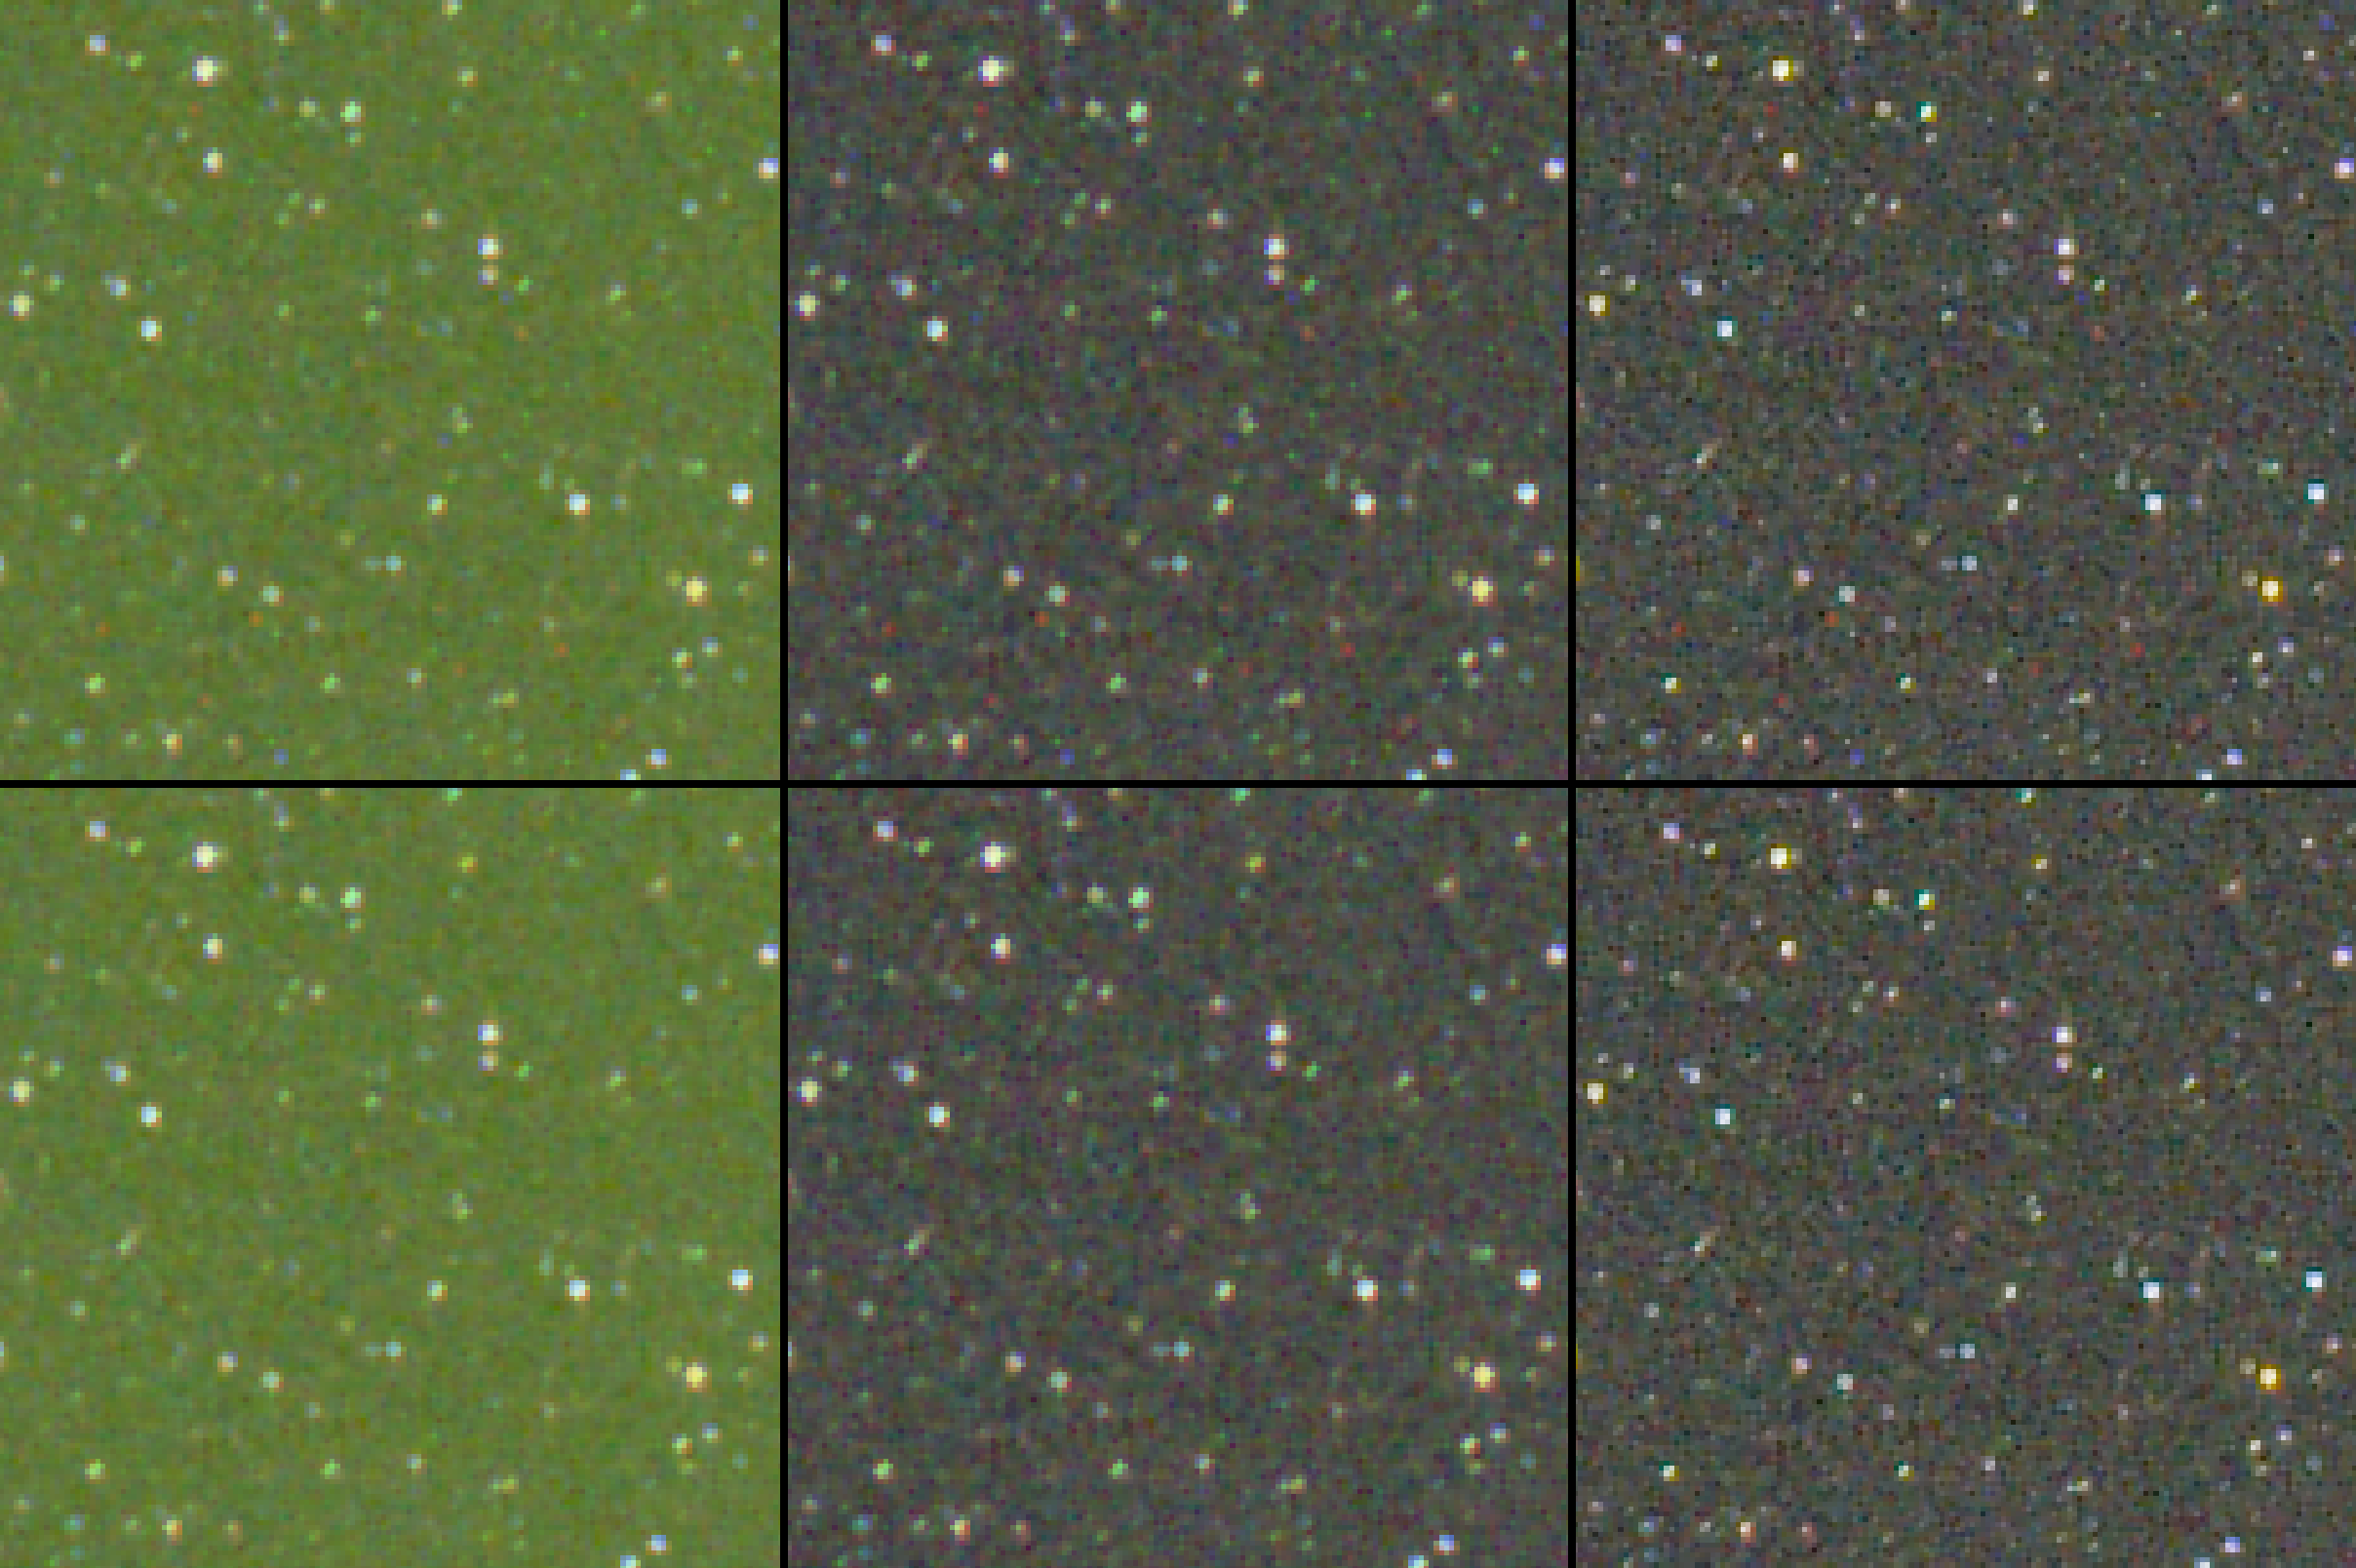
Top: uncalibrated Bottom: calibrated
Left: bilinear debayering and no Linear Background Neutralization
Middle: bilinear debayering and Linear Background Neutralization
Right: Adaptive Airy Disc debayering and and Linear Background Neutralization (notice the dramatic increase in sharpness and better star shapes and change of colors  due to AAD debayer)."
Let me know if you can get rid of these bad pixels 😉
Mabula
Hi Mabula,
thanks. I try too make darks for a Bad Pixel Map. In this case i used dithering, without darks.
Greets Dirk
Hi Dirk,
Dithering combined with an outlier rejection filter (kappa clipping) while integrating should help in removing the bad pixels, but if you can get rid of these in the calibration fase without introducing noise than that's always better.
If you create a good and effective Bad Pixel Map, you'll enjoy this for a long while 😉
Regards,
Mabula
