Mar 28 2026 APP 2.0.0-beta40 will be released in 7 days.
It did take a long time to have the work finished on this and it will have a major performance boost of 30-50% over 2.0.0-beta39 from calibration to integration. We extensively optimized many critical parts of APP. All has been tested to guarantee correct optimizations. Drizzle and image resampling is much faster for instance, those modules have been completely rewritten. Much less memory usage. LNC 2.0 will be released which works much better and faster than LNC in it's current state. And more, all will be added to the release notes in the coming weeks...
Update on the 2.0.0 release & the full manual
We are getting close to the 2.0.0 stable release and the full manual. The manual will soon become available on the website and also in PDF format. Both versions will be identical and once released, will start to follow the APP release cycle and thus will stay up-to-date to the latest APP version.
Once 2.0.0 is released, the price for APP will increase. Owner's license holders will not need to pay an upgrade fee to use 2.0.0, neither do Renter's license holders.
I am wondering if I can upload a final fits file to get suggestion on what to do next.
@msamazing Hi Michael,
Can you first indicate what you already did? Perhaps uploading the image isn't necessary.
Wouter
Yes I just fully processed the data to the point of integration.
@msamazing OK that's a start for providing us with more info but some more would be appreciated. What kind of data are we talking about? Is it mono with different (narrow or wide band) filters? Is it color data with or without filters? Any dual band filters like L-eNhance or L-eXtreme? Is it a single panel or a mosaic? How many hours of data have you collected? What location did you shoot from? What kind of image are you aiming for? An RGB image? Or HOO? Or SHO/Hubble palette?
In general going to the TOOLS tab and cropping away the borders, where not all lights have contributed, using the batch crop tool is a logical first and then using the remove light pollution tool is a logical second step. Depending on your answers to the bunch of questions that I put at the start of this reply, you may want to use the calibrate star colors tool and possibly other tools as well.
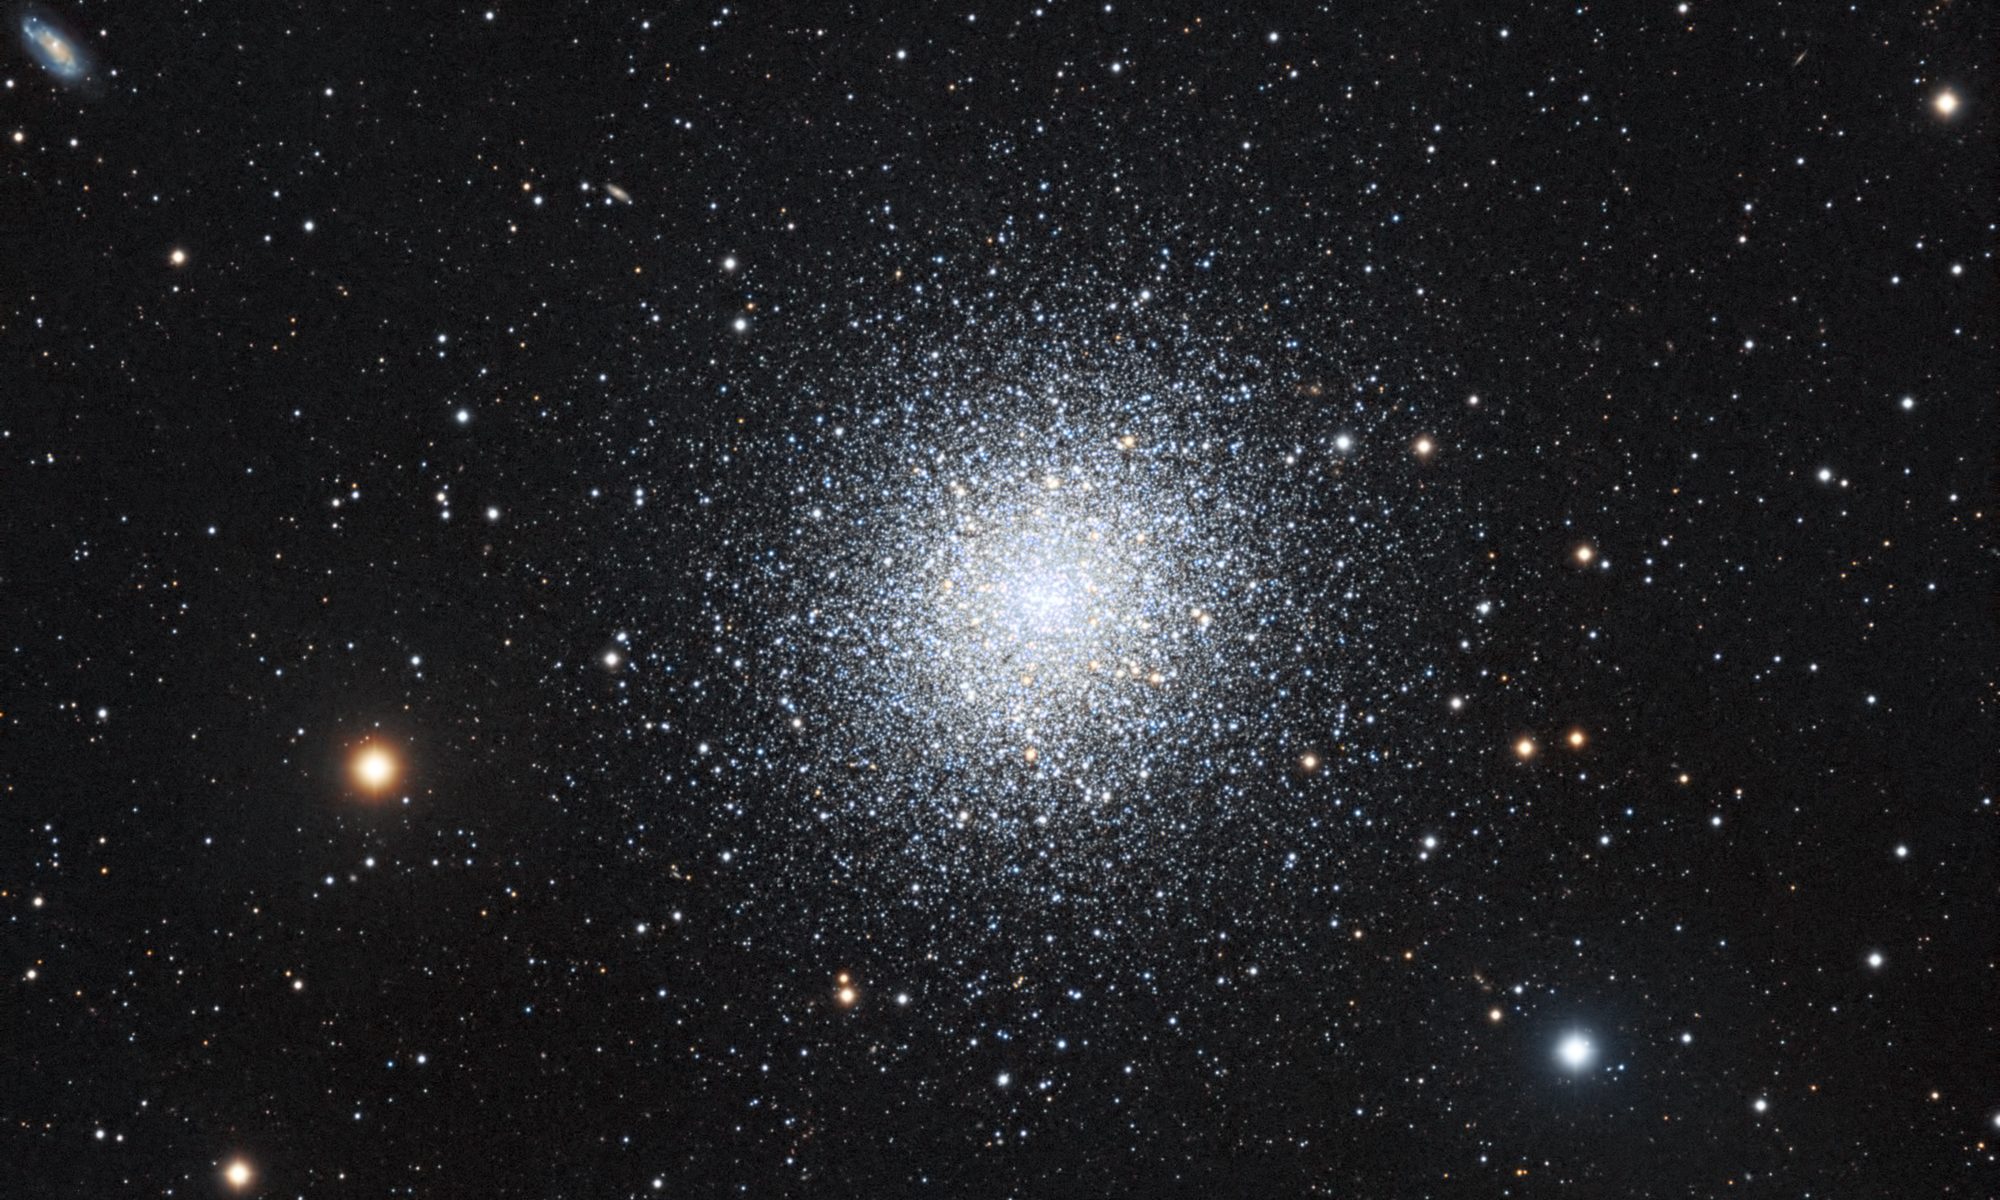
There is about 470 minutes of data for light frames. It was shot with a astro color camera so no filters. I am just aiming for a regular color image but trying to see if it is recommended to get rid of some of the stars and other suggestions as I am learning.
@msamazing In that case crop the edges and perform a light pollution reduction. Then you can continue with a star color calibration. Finally, it is not very well possible to get rid of stars but you can reduce their sizes. Please give that a try and post screenshots here in case it doesn't work out as you expected.
@wvreeven I performed all of those things. On the star reduction, I just moved one lever (star size) from 100 to 50. Should I have used other levers? One screen shot shows before the star size reduction and the other after. Any other recommendations?


@msamazing The image looks good to me. Are you happy with it? The only thing is that it seems to lack color. Can you enable Saturation in the tools on the right hand side of the APP window and see if that helps?

@msamazing Hmmm I think it should be possible to get more color. Can you upload the integration result (so the image from before cropping etc) using the upload instructions at the top of the forum pages? Please create a folder called msamazing_m31 and put it in there. Let me know when the file has been uploaded and I'll have a look.
@wvreeven The file should be there now. I think I did it correctly. Thank you in advance.
@msamazing Thanks a lot. I got it.
In this case no light pollution removal is necessary, but I did it anyway just to show how it's done. You need to draw at least 5 small boxes so I drew six along the borders. Note that the boxes need to be small for APP to better estimate the background gradient. It doesn't matter if there are stars in those boxes or not. Note that I already enabled saturation on the right hand side which is why the colors of the nebula show up.

Next I calibrated the star colors. Here it is important to select as many stars as possible without selecting any nebulosity or galaxy. That looks like this:

Finally the image looks a bit too blue for my taste so I used HSL Selective Color to reduce the blue tone of the image:

Note that Saturation has been enabled to the right.

@msamazing It depends on the colors of the input image. If that's not as blue as my result, you don't need to use the HSL Selective Color tool.
@wvreeven Ok I really appreciate your efforts and help here.
