May 27 2026 APP 2.0.0-beta45 has been released !
Fully Multi-Threaded LNC, many improvements for the registration engine, platform upgrade, and further tuning of internal memory consumption and memory release back to OS.
Apr 14 2026: Google Pay, Apple Pay & WeChat Pay added as payment options
Update on the 2.0.0 release & the full manual
We are getting close to the 2.0.0 stable release and the full manual. The manual will soon become available on the website and also in PDF format. Both versions will be identical and once released, will start to follow the APP release cycle and thus will stay up-to-date to the latest APP version.
Once 2.0.0 is released, the price for APP will increase. Owner's license holders will not need to pay an upgrade fee to use 2.0.0, neither do Renter's license holders.
My first post so I hope that I have done it all correctly.
I have been a user of Deep Sky Stacker but downloaded APP to see if this would be a better programme to use.
Both stacks done on a Windows 10 desktop with 16GB RAM.
I have done a comparison by stacking images plus flats and bias into both programmes and timing the time taken and comparing the final image.
Using DSS I loaded 23 light frames (300secs at 800ISO using a Canon 1200d modded). In DSS I used an 8% star detection threshold, Bi-linear interpretation, standard stacking mode, align RGB channels, Kappa-sigma with K at 2.00 with 5 iterations, auto transformation alignment and this used 2.5GB on the hard drive. The total time to ouput an image was 11 minutes.
Using APP I set the RAM use to 4 but otherwise left all the setting at their default settings as I don't know enough about APP to change them anyway. APP gave a final stacked image in 15 minutes.
I have uploaded both stacked images (I hope) for comparison (nothing done to them as regards post processing). The image that DSS gave is better and the stars are a good shape. The APP image does not show such good stacking.
Now, as a new user of APP, I am willing to accept that I may not have all the settings correct but, on this basis, DSS is better for me.
Peter
Hi Peter,
Looking at both images I would totally agree with you 😉
First of all you will need to take a look at this, how to create a Bad Pixel Map:
https://www.astropixelprocessor.com/community/tutorials-workflows/creating-a-bad-pixel-map/
You have a lot of bad pixels that will be removed easily with a bad pixel map as part of calibration of your data.
Secondly, did you alter settings in 0) RAW/FITS? Your APP image is black and white which shouldn't happen with default settings in 0)RAW/FITS with your Canon 1200D modded.
I would suggest to first make a Bad Pixel Map and apply it in calibration of your data, then things should look much better already. If you show the result with the BPM applied, I can give you more pointers to improve the result in APP 😉
Kind regards,
Mabula
You are correct about the 0) setting. I did what was suggested re BPM but my resultant BPM was just grey so I am not sure what went wrong there. I used flats and bias frames as I don't do darks - I dither.
I have attached BMP and new stack result.
Round stars but very dark.
Peter
Hi Peter,
To get rid of the bad pixels you will need to feed darks into the Bad Pixel Map creation. You would need to create a simple batch of 20x darks of 1 or 2 minutes exposure time, don't mind about the iso (use 800 or 1600) or temperature. You will only need to create a Bad Pixel Map once per year or even longer. Have been using mine for over three years now (Nikon D5100).
Dithering and not applying dark frame subtraction is fine, but applying a Bad Pixel Map in that case based on darks will mean that you can relax the outlier rejection filter settings as well and therefor give you a better result. It's always better to get rid of non-linear (hot & cold) pixels in calibration as soon as you can. The reason being, if you use outlier rejection too strong, you'll throw away good data as well 😉
If you get a good BPM, it should be gray with values of 127. Those pixels behave linear on your sensor.
Pixels with a value of 0 on the BPM are cold or defect. Pixels with a value of 255 or hot. The hot and cold pixels will be replaced by interpolated values of the surrounding linear pixels in the calibration of your data.
In your case, you really need to make a simple batch of darks and use those only for the BPM creation. Then it will work very effectively on your frames. In the fits header of the created BPM you can find the % of hot pixels. For your camera's sensor, set the hot pixels kappa at such a value that you get around 2-3 % of hot pixels. That's for most DSLRs a good and normal value.
The BPM that you show is black, so I don't think it's correct.
Is the integration so dark, because it isn't stretched perhaps? did you disable the DPP function perhaps (the auto DPP will stretch the data).
Kind regards,
Mabula
Thanks Mabula
I will look at that but DSS is quite happy without Dark Frames and it seems a retrograde step in a way. Yes I did disable stretch as I read in the notes for BPM creation to do that.
Thanks again
I have done another stack including a BPM. I have attached the latest result along with the BPM stats. What is your opinion of this result now.
Peter
Thanks Mabula
I will look at that but DSS is quite happy without Dark Frames and it seems a retrograde step in a way. Yes I did disable stretch as I read in the notes for BPM creation to do that.
Thanks again
Hi Peter,
Calling a BPM based on a couple of simple darks, which you only need to create once per year, a retrograde step is something I can't really agree on. Let me explain:
- The darks simply provide all the information you need on hot pixels. Why not use this information if it's easily available? You don't have to rely on a hot pixel detection algorithm (which does not always work in DSS, that's very well known, it can cause issues as well with certain datasets). So this means that if you create a good Bad Pixel Map, it will be totally robust.
- A Bad Pixel Map will never hurt your Signal to Noise Ratio (SNR), while an outlier rejection filter combined with dithering certainly will. With the BPM applied on your data, you can work with less aggresive settings for the outlier rejection filter giving you higher SNR in the integration. This can be significant, the SNR can be 1-20% higher !
- The Bad Pixel Map will work perfectly even if you combine 1-10 images. Dithering with outlier rejection will not work perfectly then, only with aggresive outlier rejection filter settings, severly hurting your SNR of your integration.
With version 1.054, you won't need to disable the (auto) ddp stretch anymore to visually check the BPM. A BPM is now automatically shown without stretch. I'll correct the BPM tutorial for this.
Kind regards,
Mabula
I have done another stack including a BPM. I have attached the latest result along with the BPM stats. What is your opinion of this result now.
Peter
Hi Peter,
Still doesn't look very good, I certainly think we can do better 🙂 , but the star shapes are much better now and a lot of noise is gone at least 😉 . (Possibly the BPM is a little bit too aggresive with 5% hot pixels.)
I have read that you are combining 23 light frames? Possibly try to integrate them with the median integration setting in 6). Should give a cleaner result as well. I wouldn't use outlier rejection in this case.
Furthermore, you seem to have strong banding noise in your data and the vignetting isn't corrected. I suspect you didn't apply other calibration frames (like bias, dark, flat) in this result, or did you? Because calibration frames should clean this up nicely.
Furthermore, if you calibrate your data, you can save the calibrated frames with the align channels option. That will correct any chromatic aberration to a high degree. Then load all the calibrated frames and integrate them.
Kind regards,
Mabula
Hi Mabula
I tried to do what you suggested but hit a problem. I calibrated the light using align channels as suggested. I loaded all the resultant files along with darks, flats and bias frames. When i tried to integrate I kept getting messages about unequal frame sizes (see attached). I must be doing something wrong but what is it?
Peter
Edit: I have checked the size of the bias, flat and dark frames and they are all 5184x3456. The original CR2 lights and the calibrated lights are all also 5184x3456. ??
Hi Peter,
You need to apply the calibration master frames first, before doing the align channels option. So if you load the light frames together with the master calibration frames and then enable align channels and click on save calibrated frames, the frames are first calibrated and then channel aligned 😉
The error shows the difference in image dimensions, because the calibration frames are destined for your DSLR raw frames, not for the channel aligned fits frames. Think about it, we need to calibrate the originals not already processed frames using the channel alignment 😉
Your DSLR master calibration frames will correct the whole sensor, and in the raw conversion in the end, a raw border is always cut off giving you the "normal" image dimensions. The FITS frames that are channel aligned, don't have this raw border anymore.
Kind regards,
Mabula
Hi Mabula,
Firstly thank you for your time and patience. I appreciate it.
So, if I understand you correctly, I load the lights, darks, flats and bias and then save the calibrated frames. I then restart the program and only load the calibrated light frames and nothing more. Then integrate. Have I got that right? Sorry but I do find this quite confusing. this is what I got doing that.
Peter
My apologies Peter, I meant you need to load the Master Calibration frames created from the darks, flats, bias that you have. My mistake ;-(
Probably it will save some time, if you would send me some data using wetransfer? Then I will write down how I would process your data in APP and this could serve as a possible tutorial as well for others with DSLR data. Would you like that?
I would need 5 light frames, 5 bias, 5flats, 5 darks (for the BPM). The bias frames need to have the same iso as both lights and flats.
Kind regards,
Mabula
Doing that now.
Peter
Excellent, downloading now 😉
Hi Peter,
I have looked at your data and processed the 5 light frames while using master calibration frames.
First of all, I would like to show the difference between between using
- a masterbias + masterflat + BPM
- a masterdark + masterflat + BPM
The difference is big, because your sensor's dark current has strong horizontal banding that really needs dark frame subtraction I would think, or much more aggresive dithering (more than 20 pixels random in both x and y directions between all frames). The dithering that you have between these frames is only in the same direction and very small. It's burning fixed patterns in your integrations like this (i refer to the noisy stripes which you can see if you zoom in on the integrations). You really need a bigger dither step and random dither directions to get a much smoother result in integration.
The first image is with a masterdark, the second with the masterbias.


This is the integration of the 5 light frames with using the masterdark instead of the masterbias for the light frame calibration. The flats are calibrated with the masterbias. If you combine your 23 frames, instead of these 5, the result must be very smooth.

I would prefer to make a small video tutorial showing everything, that will be much more efficient and it will be much easier for you to duplicate. Is that okay for you?
Mabula
Hi Mabula
That is excellent - I had been wondering about my dithering settings and you have confirmed that I need to be more aggressive. Thank you.
A video tutorial would be very helpful - I can make my own notes based on that. Please let me know when it is available, hopefully before my trial license expires.
Thanks again for your time and patience.
Peter
Hi Peter,
I have created the tutorial, it's uploading now using wetransfer.com so you should receive the download link in your inbox within 1 hour give or take 😉
Kind regards,
Mabula
Hi Mabula
Safely received thank you. I have had 1 run through and will try a stack tomorrow. Many thanks.
Peter
You're welcome 😉
Let me know if you can duplicate it, or if anything is unclear.
Mabula
Hi Mabula
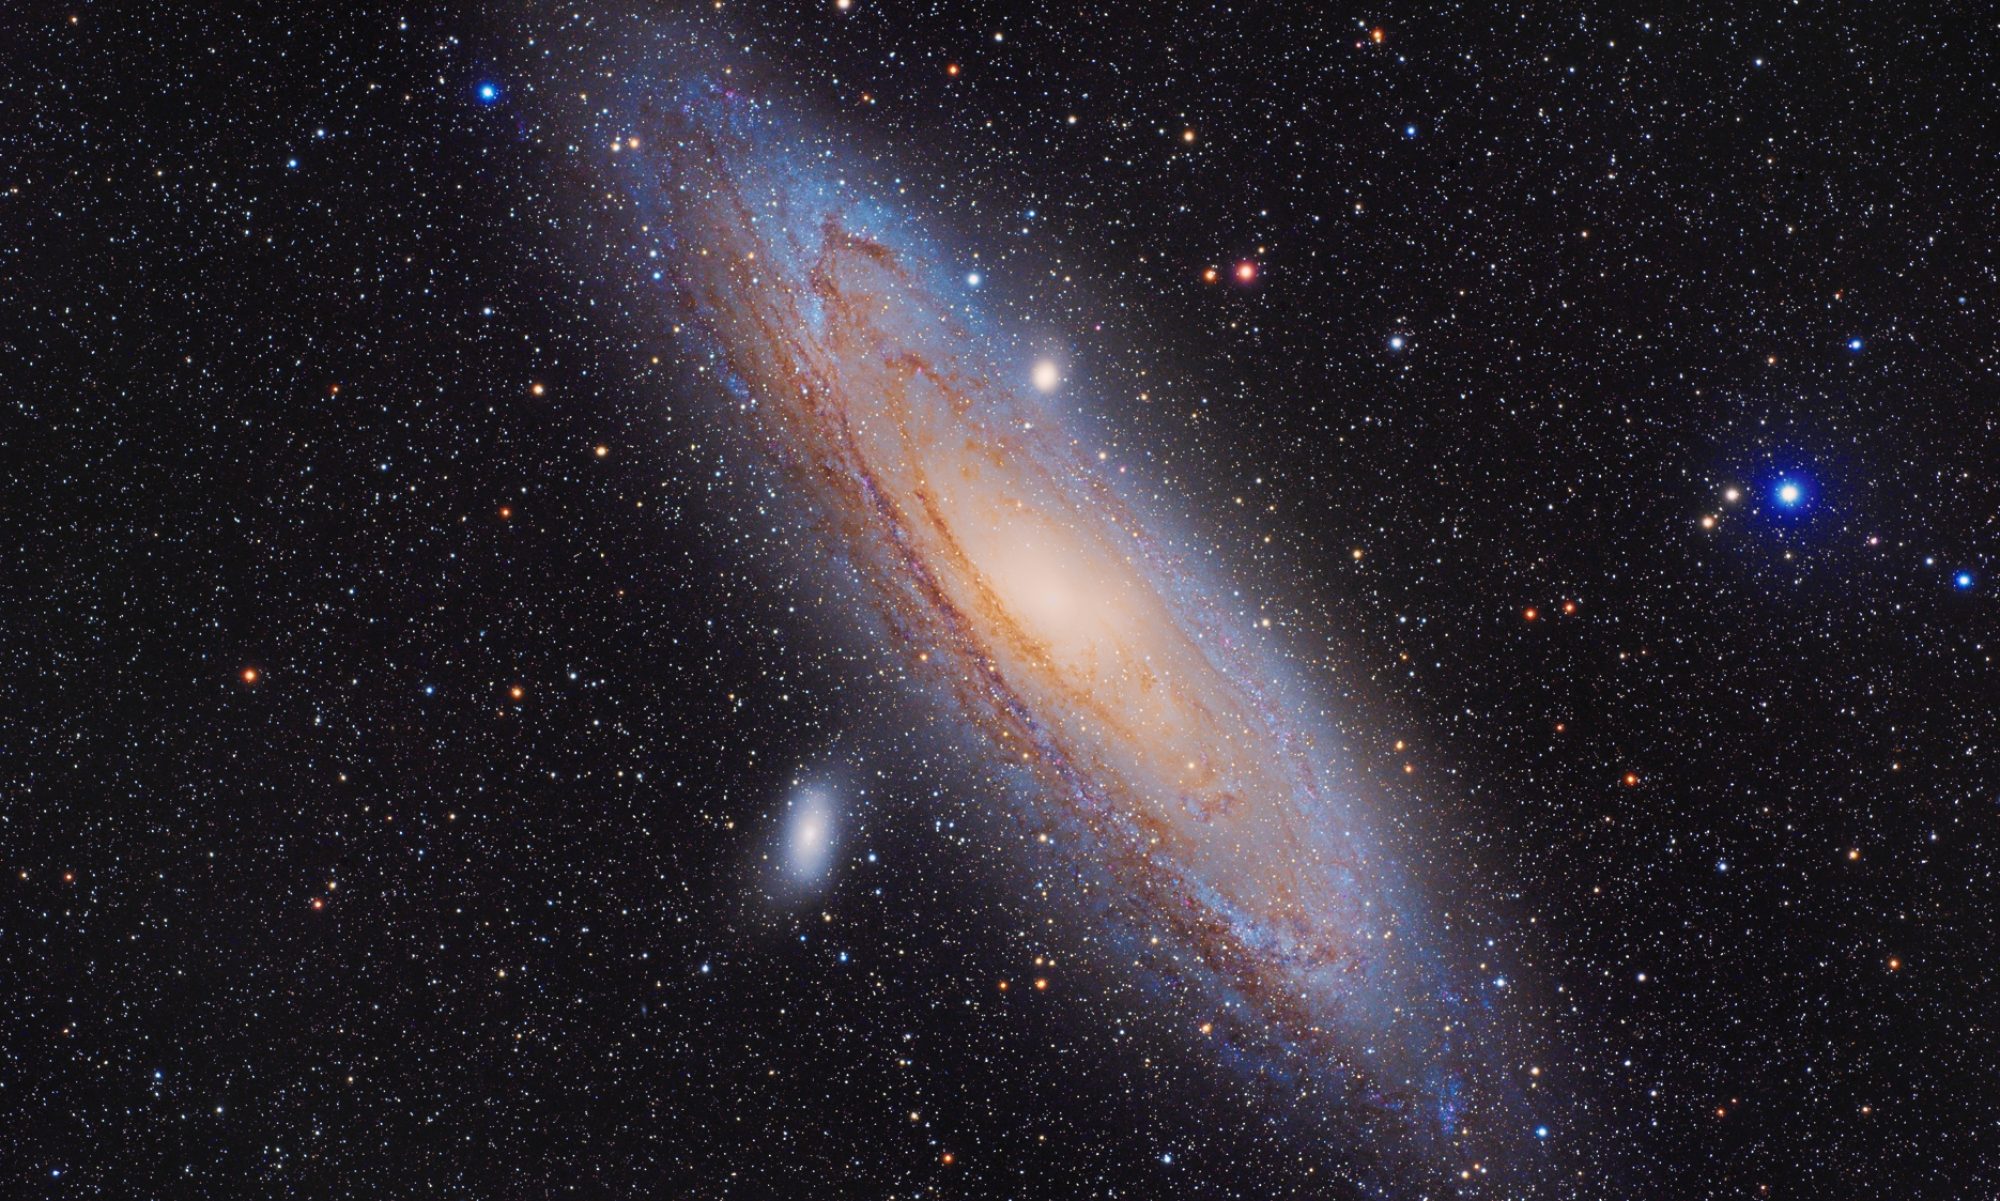
I have completed my M101 stack using 23 Lights, 25 Bias, 26 Darks and 8 Flats. I have attached the result. I did notice a strange artifact on the final image (capture attached) and noted that I could still see satellite trails. Any ideas about these two issues?
Peter
Hi Peter,
Have you combined the 23 subs with the median integrate setting, or did you use average?
Try enabling the sigma clip outlier rejection filter with 1 iteration, kappa 2.5. Probably that will remove it.
Mabula
Hi Mabula
I used average integrate. Will try your suggestions.
Peter
Did as you suggested and wiggly lines have gone as well as satellite trails. This was the result which I am quite pleased with.
Peter
Did as you suggested and wiggly lines have gone as well as satellite trails. This was the result which I am quite pleased with.
Peter
Hi Peter,
Excellent 😉
- The median integration option without outlier rejection or
- average integration with outlier rejection
would both have been a possibility to get rid of the last artefacts.
With 23 light frames you have both possibilities and the outcome will probably be more or less the same. If you have much more light frames then you want to use average integration with outlier rejection 😉 because then the average method will be superior. It will help in getting more depth into you integration, the median integration will limit this.
Kind regards,
Mabula
