This is mainly a bug fix release for the reported bugs in beta47. In addition it has a significant User Interface performance improvement noticable when you need to process 1000s of images in APP.
2026-10-03 APP 2.0.0-beta47 has been released !
This is a very big release... many code optimizations/rewrites, many parts of APP are much faster and more precise, especially star analysis and registration are much faster ! Big mosaics will go much faster 🙂
And we introduce a new preview filter, which includes the new Adaptive Deep Sky Stretch and a General Levels Stretch, this has been long over due. The old preview filter (the panel on the right side to stretch and preview your data) has not been updated for a couple of years and it is a critical part of any APP session.
Adaptive Deep Sky Stretch or ADSS is a much more intuitive stretch algorithm. It is also color preserving (which is a great new addition in itself ! ) which means that the highlights are no longer bleached, color is maintained from the linear data while stretching. You can simply stretch your data using the sky background level and signal width sliders which work much easier and more intuitive. You no longer need to fiddle with the old complicated sliders with zoom buttons. All the zoom buttons for the sliders are made redundant. And you can enter slider values in the slider value fields yourself. I will make a youtube video in the coming days to explain and fully introduce ADSS. Once the video is ready, it will be highlighted on the forum.
RGB Combine upgrade !. The RGB Combine Tool has been rewritten mostly. The tool is faster and easier to use and most importantly, the Luminance slider to inject a luminance channel or channels into the RGB composite is now working correctly. It no longer bleaches the RGB colors. Combined with the new ADSS preview, you will get much better and easier great composites with great color! I will also explain this in a new youtube video.
This is RGB right? You could try to perform Light Pollution correction to maybe get a more even result and when it's broadband data, star color calibration.
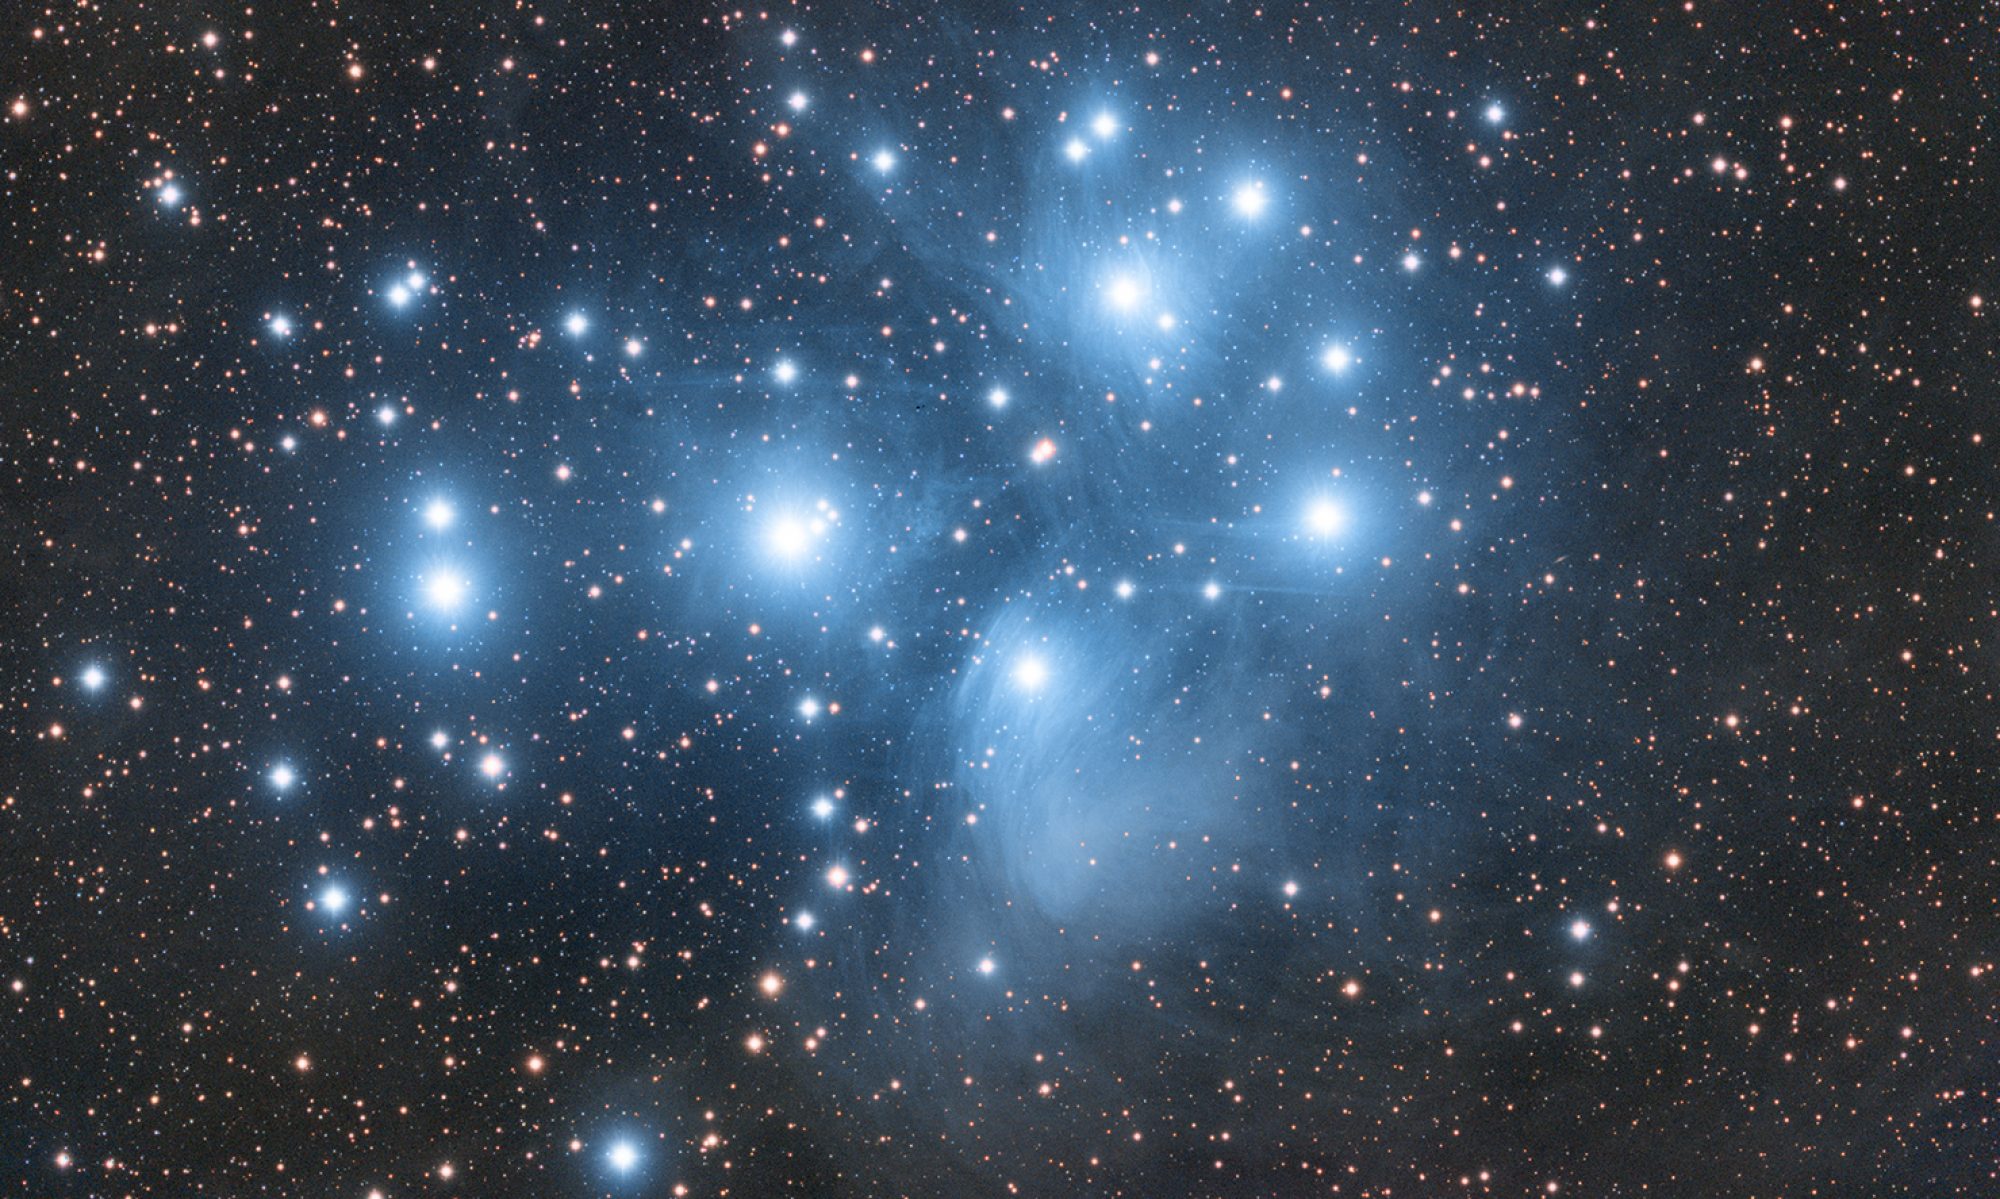
this is my first try with my just modified X-T3 Full Spectrum, under astronomical twilight because of my location on 2020-06-12.
Equipment used was a XF90mm F2 steppt down to F4, and the Sky Watcher Star Adventurer.
6000s @120s each, 50 integrated Files
The workflow was good (APP 1.080-beta2), I just had a greenish tint to the picture, nothing severe but noticeable. And well to handle in post.
Hop you like the picture. Suggestions for improvement?
Christoph
@hoffi1981, Excellent result, thanks for sharing ! Great to see a Fujifilm X-Trans result 🙂
Like @vincent-mod, suggests, have you used both the Remove Light Pollution tool and Star Color Calibration in APP? If not, please try or ask us to do it for you as an example to demonstrate the capabilities of APP.
Thanks for showing this, I think it is lacking quite a bit of color compared to your first result, perhaps you did not apply any saturation on the result this time?
Please share the integration/stack and I will try to do it and share with you how I would do it 😉
Thank you for sharing your data, I have processed it and present you my result here, 100% APP:
So, we only have light frames, I simply integrated all with APP's fully automatic integration settings. Load light frames, go to 6) Integrate, click on Integrate and we get this:
We see a fair bit of light pollution/gradients and some greenish cast on this initial result.
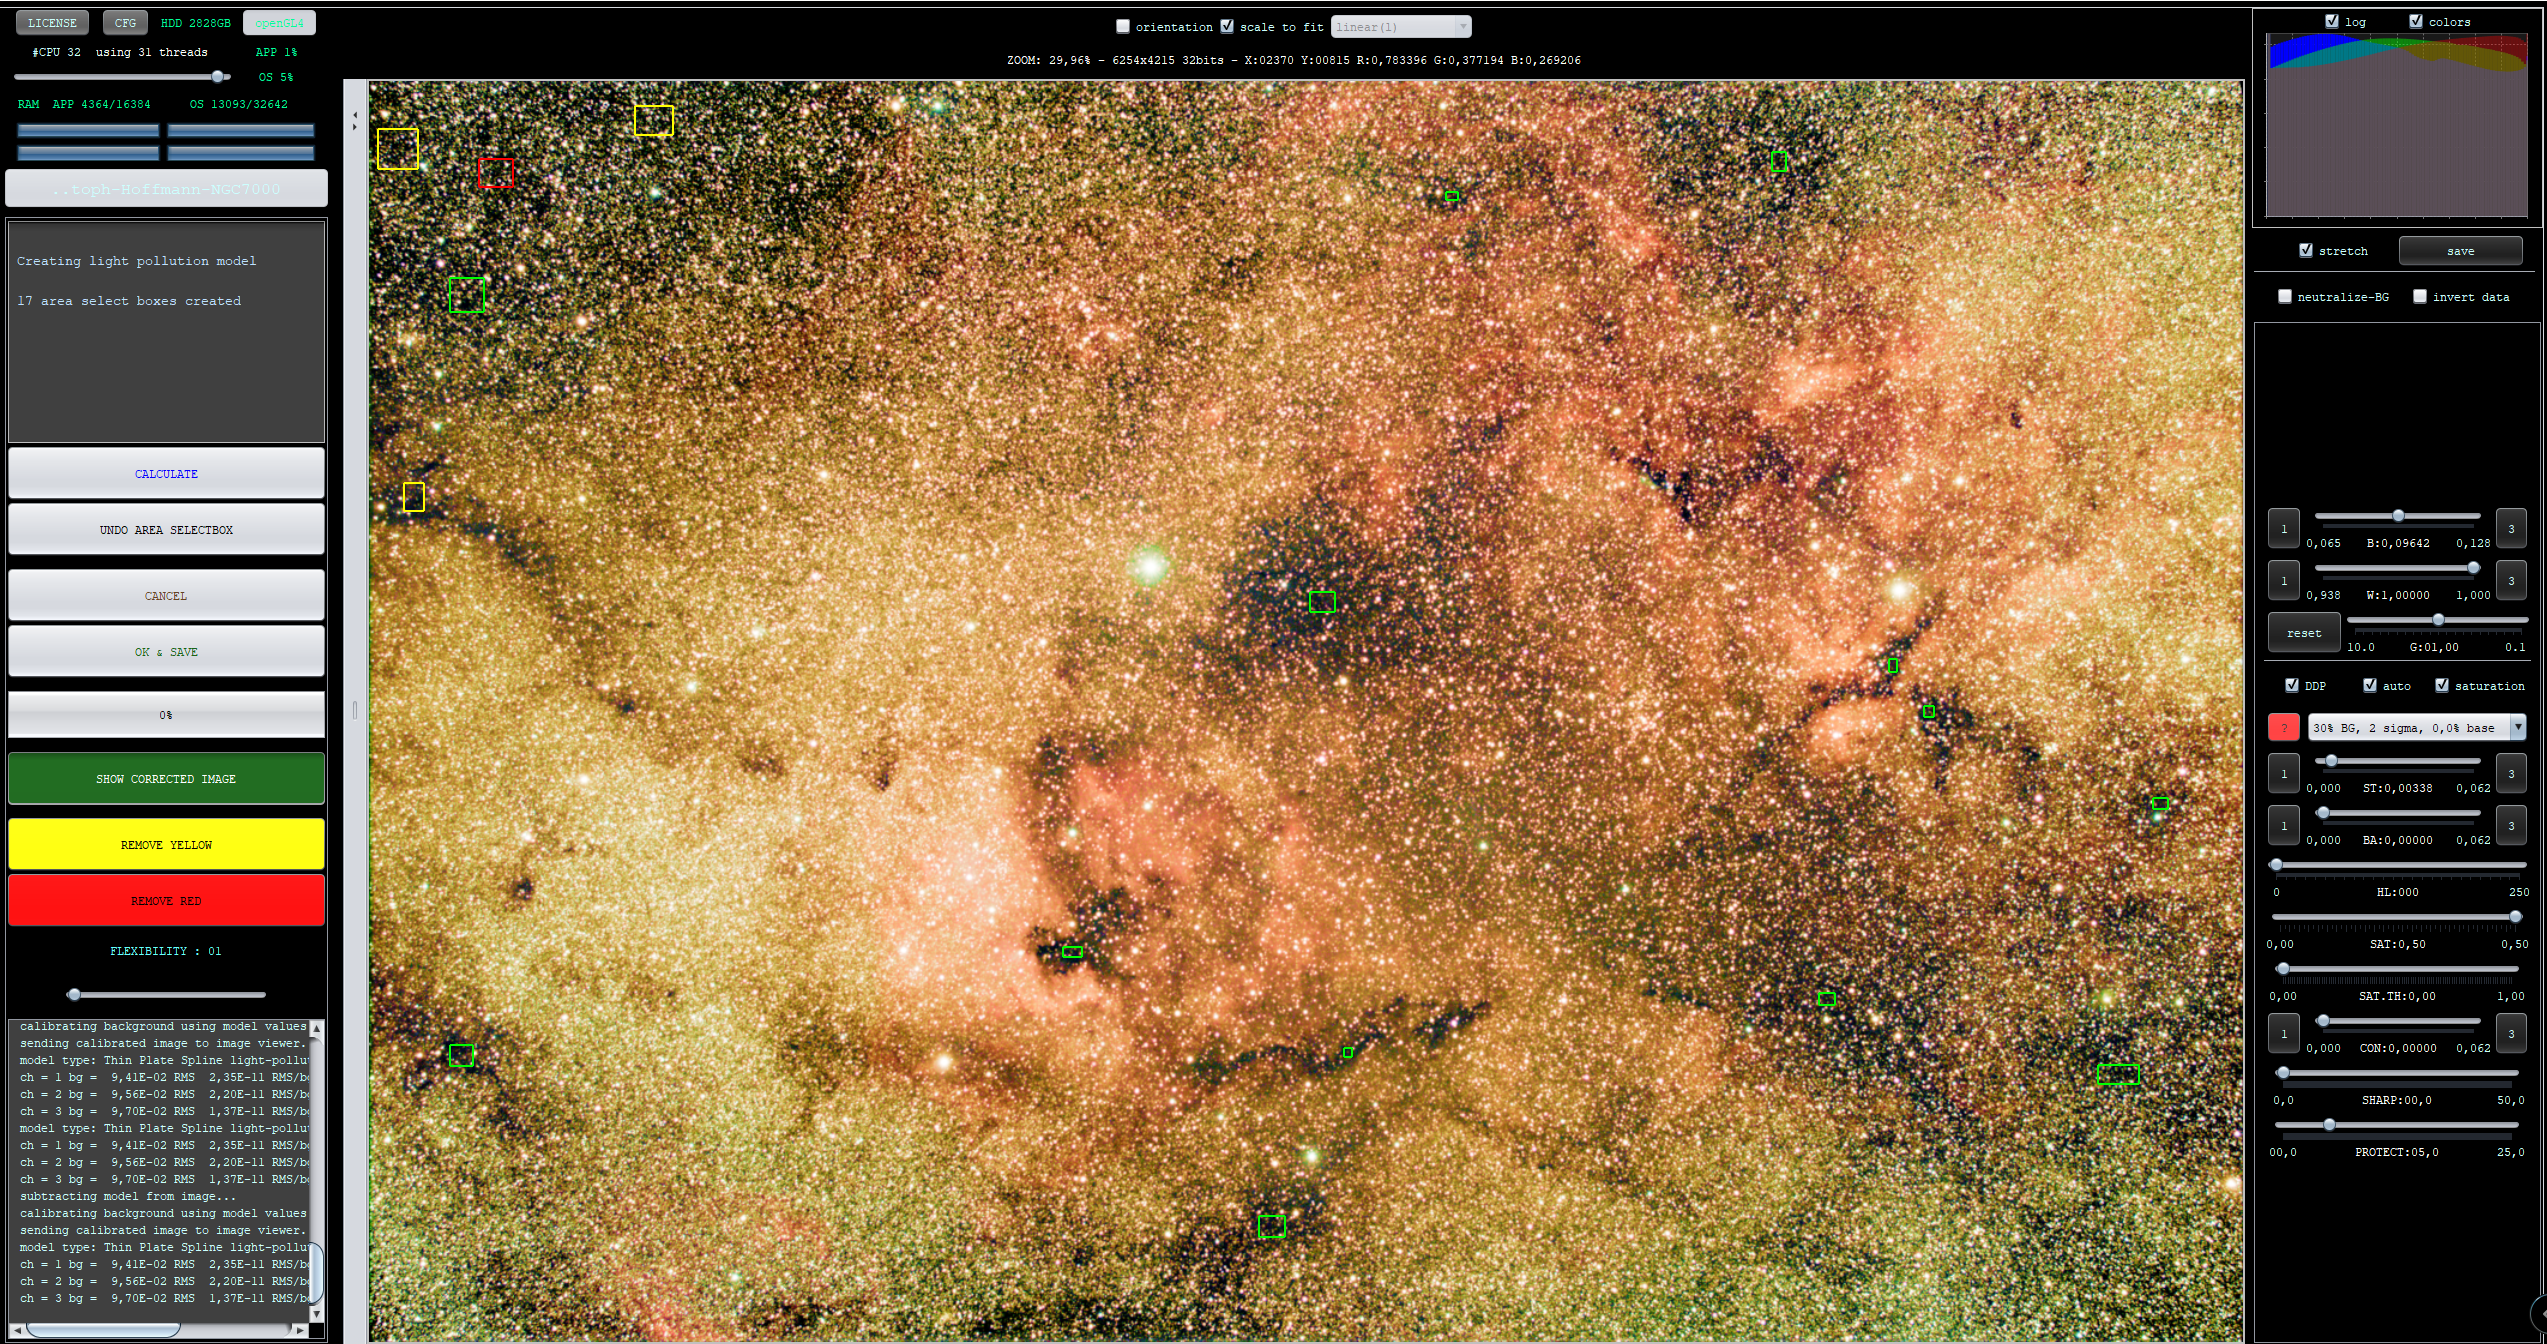
So next step, load the integration into the 9) Remove Light Pollution tool:
To correct the data nicely, I purposely stretch and saturate very strongly ! That way, I can easily see what I want to correct 🙂
The image is now corrected for Light Pollution/gradients and also it is automatically Background Calibrated by the Remove Light Pollution tool, I now want to correct the colors with the 9) Star Color Calibration tool:
Looks already much better 🙂 For instance, Deneb is now rather blue which is the correct color, Deneb is the bright star above the North America Nebula. Finally, I want to get rid of some greenish and magenta casts on some of the stars in the very dense star fields, I used APP's Selective Color tool, selected green, injected magenta and killed green's saturation. I then selected magneta and injected some green into those pixels. Both operations actually reduce the green and magenta in the image.
Finally I applied the final stretch in APP with enhanced color saturation & contrast:
Then saved the stretched result as JPG with 100% quality and sRGB color profile:
Hope you like the result? You can download my results here to check all my steps 😉 :
thx for the very nice processing. I can see that there is still a lot to learn in color calibration for me. But so is life 🤔 .
I just had a idea to simplify this process for beginners. I see that the calibration with a tool that can show you the spread of the stars in the main row is very powerful, but difficult to handle in the beginning.
My idea is if you have in your picture, with broadband data (no Narrowband), a given star like Deneb or Beteigeutze. Pick the color (if not burned out of course) and calibrate Data withe a Spectroscopic reference (from a scientific source) to get a starting point. And fine tune from there. This could be for the 100-200 or so brightest Stars. Beginners normally start with wide field so you should find at least one of the stars in the Frame.
I know that you can make things worse if you select the wrong reference Star.
I am curious what you think about this idea. And i have no idea how difficult it would be to implement this in your program.
I think the way APP is doing the calibration is more consistent and precise. What it does is it takes all selected stars and plots them on the graph, we know that main sequence stars behave in a very predictable manner (black body radiation, represented by the green line) and you should expect the lower graph to have some in the lower left (more blue stars) and most in the upper right (more red) on a more or less linear line. Given filters used or other effects are not changing the data too much, this gives an excellent starting point. Sometimes filters will influence the data somewhat, you can then change that a little by changing the position of the lines through the star population.