
2026-10-09 APP 2.0.0-beta48 has been released !
This is mainly a bug fix release for the reported bugs in beta47. In addition it has a significant User Interface performance improvement noticable when you need to process 1000s of images in APP.
2026-10-03 APP 2.0.0-beta47 has been released !
This is a very big release... many code optimizations/rewrites, many parts of APP are much faster and more precise, especially star analysis and registration are much faster ! Big mosaics will go much faster 🙂
And we introduce a new preview filter, which includes the new Adaptive Deep Sky Stretch and a General Levels Stretch, this has been long over due. The old preview filter (the panel on the right side to stretch and preview your data) has not been updated for a couple of years and it is a critical part of any APP session.
Adaptive Deep Sky Stretch or ADSS is a much more intuitive stretch algorithm. It is also color preserving (which is a great new addition in itself ! ) which means that the highlights are no longer bleached, color is maintained from the linear data while stretching. You can simply stretch your data using the sky background level and signal width sliders which work much easier and more intuitive. You no longer need to fiddle with the old complicated sliders with zoom buttons. All the zoom buttons for the sliders are made redundant. And you can enter slider values in the slider value fields yourself. I will make a youtube video in the coming days to explain and fully introduce ADSS. Once the video is ready, it will be highlighted on the forum.
RGB Combine upgrade !. The RGB Combine Tool has been rewritten mostly. The tool is faster and easier to use and most importantly, the Luminance slider to inject a luminance channel or channels into the RGB composite is now working correctly. It no longer bleaches the RGB colors. Combined with the new ADSS preview, you will get much better and easier great composites with great color! I will also explain this in a new youtube video.

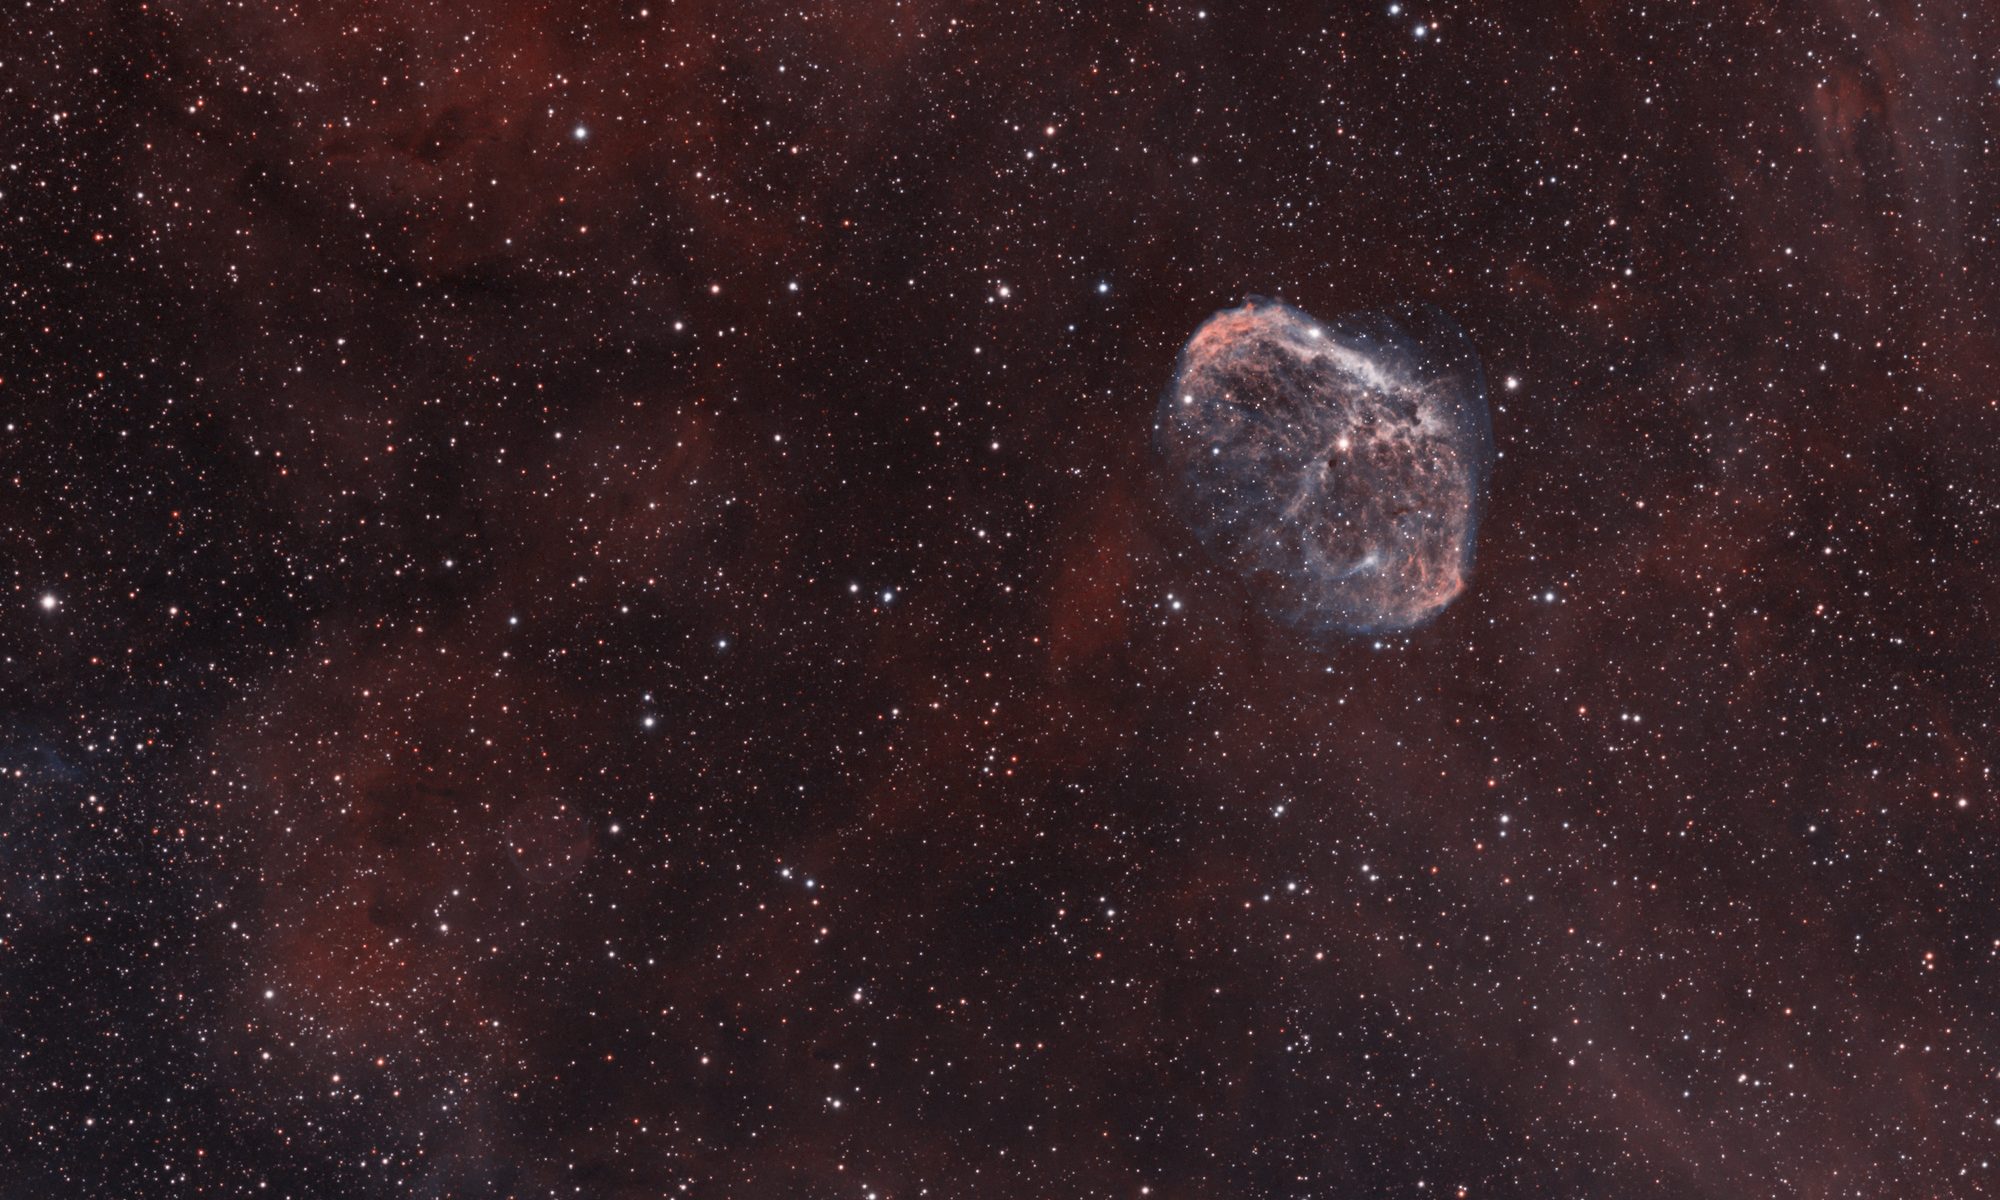
The Cocoon Nebula lies in the constellation Cygnus in one of the nearby arms of our Milky Way galaxy. In the distant past the nebula gave birth to a cluster of highly energetic stars. The energy from those stars ionize the hydrogen gas, causing it to glow red. The technical classification of this nebula is IC 5146, a bright emission nebula, but there is another nebula, a dark nebula named Barnard 168. You can see hints of it immediately surrounding IC 5146, a region relatively devoid of stars that extend to the upper right-hand corner of the frame. In fact this dark nebula extends a great distance from what you see here. Do an internet search of “Cocoon Nebula” to see wide-field images that show it. If you live atop a mountain or somewhere with exceptionally clear skies away from city lights, dark nebulae can be seen as smokey gray regions.
This was an experiment that fortunately succeeded. I say fortunately because it enables me to practice both astrophotography and photometry using only four filters instead of the usual six. Normally astrophotography requires four filters: luminance, red, green, and blue (LRGB for short). Photometry requires a minimum of two filters: “V” and “B”.
My filter wheel has only five slots. So how did I fit six filters into five slots? I didn’t. I simply replaced the G and B filters with the photometric V and B. I call it LRVB instead of LRGB.
The photometric V filter looks green when you hold it up to light and the B filter looks blue. I knew for a fact that I needed to “white balance” them in order to determine the proper exposure for each. I performed that task last week. I thought it would end there but I was mistaken.
When the time finally came to process all of the images I was disappointed. The colors were muddy looking. What was the problem? The answer lies in the dissimilar spectral response of the filters. The traditional G filter passes light between 500nm and 600nm whereas the photometric V filter passes light between 475nm and 650nm. So the V filter passes some light into what is traditionally the blue and red bands! Furthermore the photometric B filter is slow to pick up light in the blue band but is aggressive in deep blue to ultraviolet.
The solution was found in AstroPixelProcessor (APP) which provides a tool to combine the individual LRVB stacks into a single color composite image. Originally I told APP to assign 100% of the V-stack to the green channel but that resulted in muddy colors. This time I told it to assign 75% to the green channel and 25% to the blue channel. That was the solution!
The technical details
William Optics 71mm f/5.9
Atik 314E CCD (cooled but not set-point)
Optolong Luminance and Red filters
Astrodon Photometric V and B filters
Unitron Model 142 German Equatorial Mount.
Tracking: Own design Permanent Periodic Error Correction (PPEC) using stepper motor and Raspberry Pi Model 3B.
Flat-fielder: Own design “The Flatinator”
Exposure:
Luminance (binning 1×1): 70x 60s using Optolong Luminance filter
Red (binning 2×2): 70x 73s using Optolong Red filter
Green (binning 2×2): 70x 45s using Astrodon Photometric V filter
Blue (binning 2×2): 70x 92s using Astrodon Photometric B filter
Flats: 50 each filter
Darks: 50 each filter
Bias: 100x 1ms
Total Integration Time: 5.25 hours
Captured with Astroberry/INDI/Ekos on Raspberry Pi Model 3B+.
Processed in Astro Pixel Processor (APP) and GIMP.
White Balancing using a method described by Al Kelly: “White Balancing RGB Filters with a G2V Star”
Bortle 5 site
Transparency: Average
Seeing: Average
