Mar 28 2026 APP 2.0.0-beta40 will be released in 7 days.
It did take a long time to have the work finished on this and it will have a major performance boost of 30-50% over 2.0.0-beta39 from calibration to integration. We extensively optimized many critical parts of APP. All has been tested to guarantee correct optimizations. Drizzle and image resampling is much faster for instance, those modules have been completely rewritten. Much less memory usage. LNC 2.0 will be released which works much better and faster than LNC in it's current state. And more, all will be added to the release notes in the coming weeks...
Update on the 2.0.0 release & the full manual
We are getting close to the 2.0.0 stable release and the full manual. The manual will soon become available on the website and also in PDF format. Both versions will be identical and once released, will start to follow the APP release cycle and thus will stay up-to-date to the latest APP version.
Once 2.0.0 is released, the price for APP will increase. Owner's license holders will not need to pay an upgrade fee to use 2.0.0, neither do Renter's license holders.
Hi Mabula,
I viewed you video on "Post-processing, background and star color correction" for the first time in many months and I notice something I want to check with you. For reason which I can't remember, I have always done star colour calibration (right after background calibration), by drawing about 5 rectangles around various locations in the image which included lots of different stars with different colours. When I press calculate everything seemed to come out fine with no apparent abnormalities. I then finished post-processing in Photoshop and never though any more about it.
Today in the video I saw that in the star colour calibration step you drew one large rectangle enclosing virtually the entire image, which then turned green, which you then compensated for by applying magenta using the HSL selective color tool.
My question is, do I have use the method you show in the video or can I just continue doing star colour calibration the way I have been?
Thanks,
Rudy
It actually says...
"Please make at least 1 area select boxes
1 Still needed"
Seems to me that more than 1 box would be fine.
Mabula, can you come in on this question when you have some time?
Thanks,
Rudy
Since Mabula is busy with the latest update my two senses select the whole image except the edges if there's issues there. That is my approaching it works good for me. However after doing star calibration it is mandatory to use the saturation sliders on the right side of the screen also saturation threshold slider.
Yes, I do use both the staturation slider and the saturation threshold slider.
Thanks,
Rudy
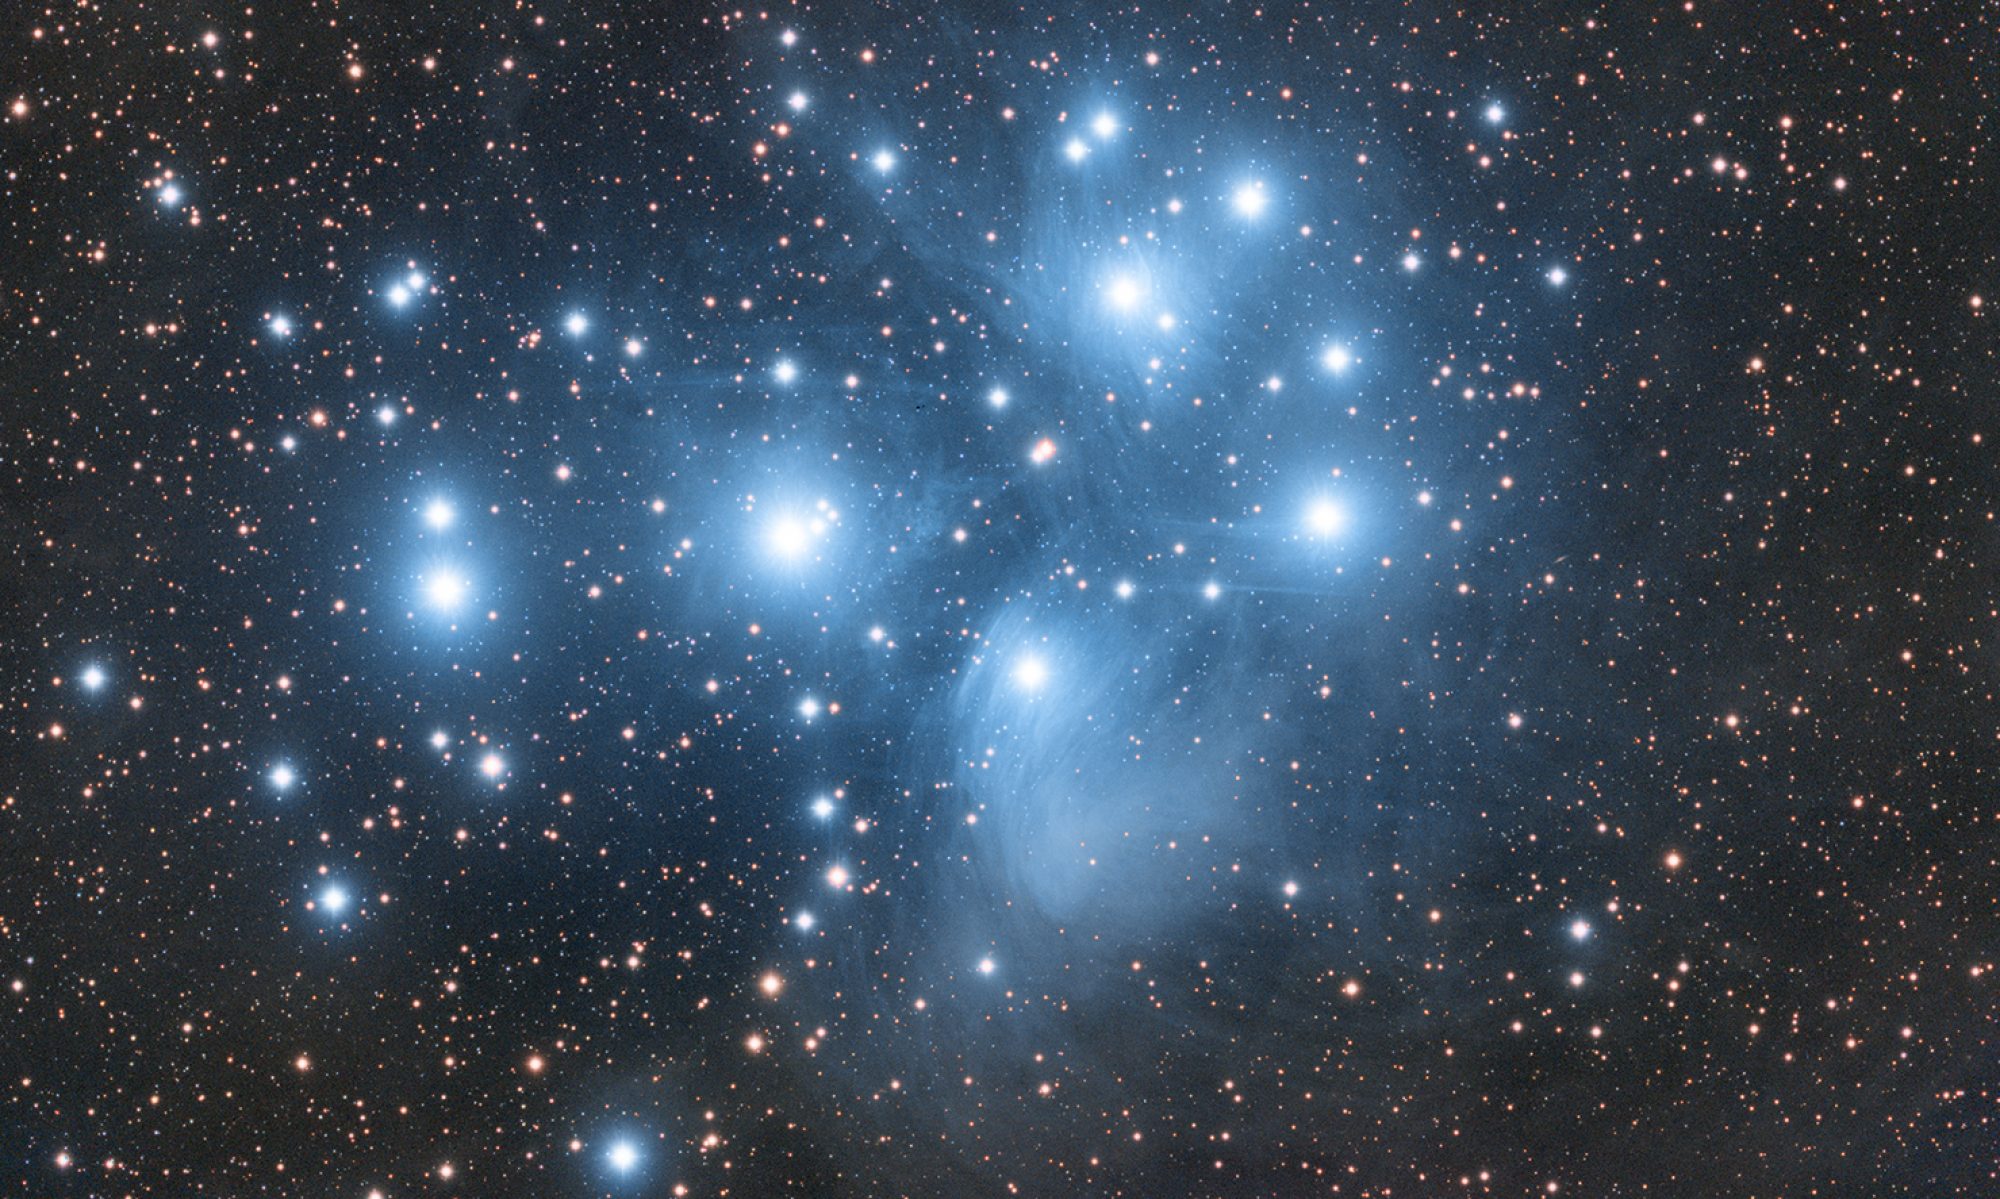
He says in the video, that he's doing it because there are only stars in that image. If I am correct, it's not to be done this way where there is nebulosity.
Hi Mabula,
I viewed you video on "Post-processing, background and star color correction" for the first time in many months and I notice something I want to check with you. For reason which I can't remember, I have always done star colour calibration (right after background calibration), by drawing about 5 rectangles around various locations in the image which included lots of different stars with different colours. When I press calculate everything seemed to come out fine with no apparent abnormalities. I then finished post-processing in Photoshop and never though any more about it.
Today in the video I saw that in the star colour calibration step you drew one large rectangle enclosing virtually the entire image, which then turned green, which you then compensated for by applying magenta using the HSL selective color tool.
My question is, do I have use the method you show in the video or can I just continue doing star colour calibration the way I have been?
Thanks,
Rudy
Hi Rudy,
First of all, the video that showed the star color calibration was using an old version of the tool.
The new version in APP 1.056 works a bit differently and physics is involved.
You will need to select a star population. Drawing one box or several doesn't make a big difference, but your old method of selecting different regions with different stars is actually fine. The goal is to get a large star population so all kinds of stars are involved.
And it's best to only select regions without clear nebulosity, since the nebulosity has influence on the perceived color of the star as you can probably understand.
So yes, select area(s) with stars spread over your image that aren't affected clearly by nebulosity.
Once the star population is in APP's memory after the first model calculation, don't make additional boxes before trying to adjust the model parameters to fit to the black body model.
Let me know if you have any other question 😉
Mabula
