Mar 28 2026 APP 2.0.0-beta40 will be released in 7 days.
It did take a long time to have the work finished on this and it will have a major performance boost of 30-50% over 2.0.0-beta39 from calibration to integration. We extensively optimized many critical parts of APP. All has been tested to guarantee correct optimizations. Drizzle and image resampling is much faster for instance, those modules have been completely rewritten. Much less memory usage. LNC 2.0 will be released which works much better and faster than LNC in it's current state. And more, all will be added to the release notes in the coming weeks...
Update on the 2.0.0 release & the full manual
We are getting close to the 2.0.0 stable release and the full manual. The manual will soon become available on the website and also in PDF format. Both versions will be identical and once released, will start to follow the APP release cycle and thus will stay up-to-date to the latest APP version.
Once 2.0.0 is released, the price for APP will increase. Owner's license holders will not need to pay an upgrade fee to use 2.0.0, neither do Renter's license holders.
Can somebody please help me with the process of removing green after integration? After clicking on tools, what is the process? If somebody know a tutorial that shows it, that would be helpful.
@msamazing Hi Michael. In the tools tab you can use HSL selective color. Load your image and then at the bottom of the options to the left select the GREEN channel. Select the "background to 50%" option and set the low value to 0. Next play with the G <-> MA slider and click "calculate current adjustments" until you're happy.

HTH, Wouter
Do you have a RGB image? If so, you can perform a star color calibration which may already help, in there you can also tweak the sliders a little bit for the green channel. Otherwise, HSL selective color is also an option. You load in the image, go to tools/HSL selective color, pick the green channel and move the G<->MA slider more towards MA (Magenta).
edit: There you go, twice the amount of advice for the same price!
Is it possible to upload my File to see what you would recommend and how?
Sure;
file is uploaded in msamazing-green folder.
So, I think you're not using flats? And the overall result seems a bit noisy, so I wonder what settings you used to capture the data.
What I did;
1. Using the LP tool to remove as much of the gradient as possible, I stretched the image to the 30% preset and then corrected it;

2. Performed a star color calibration by placing a few big boxes around stars with no nebulosity in the background;

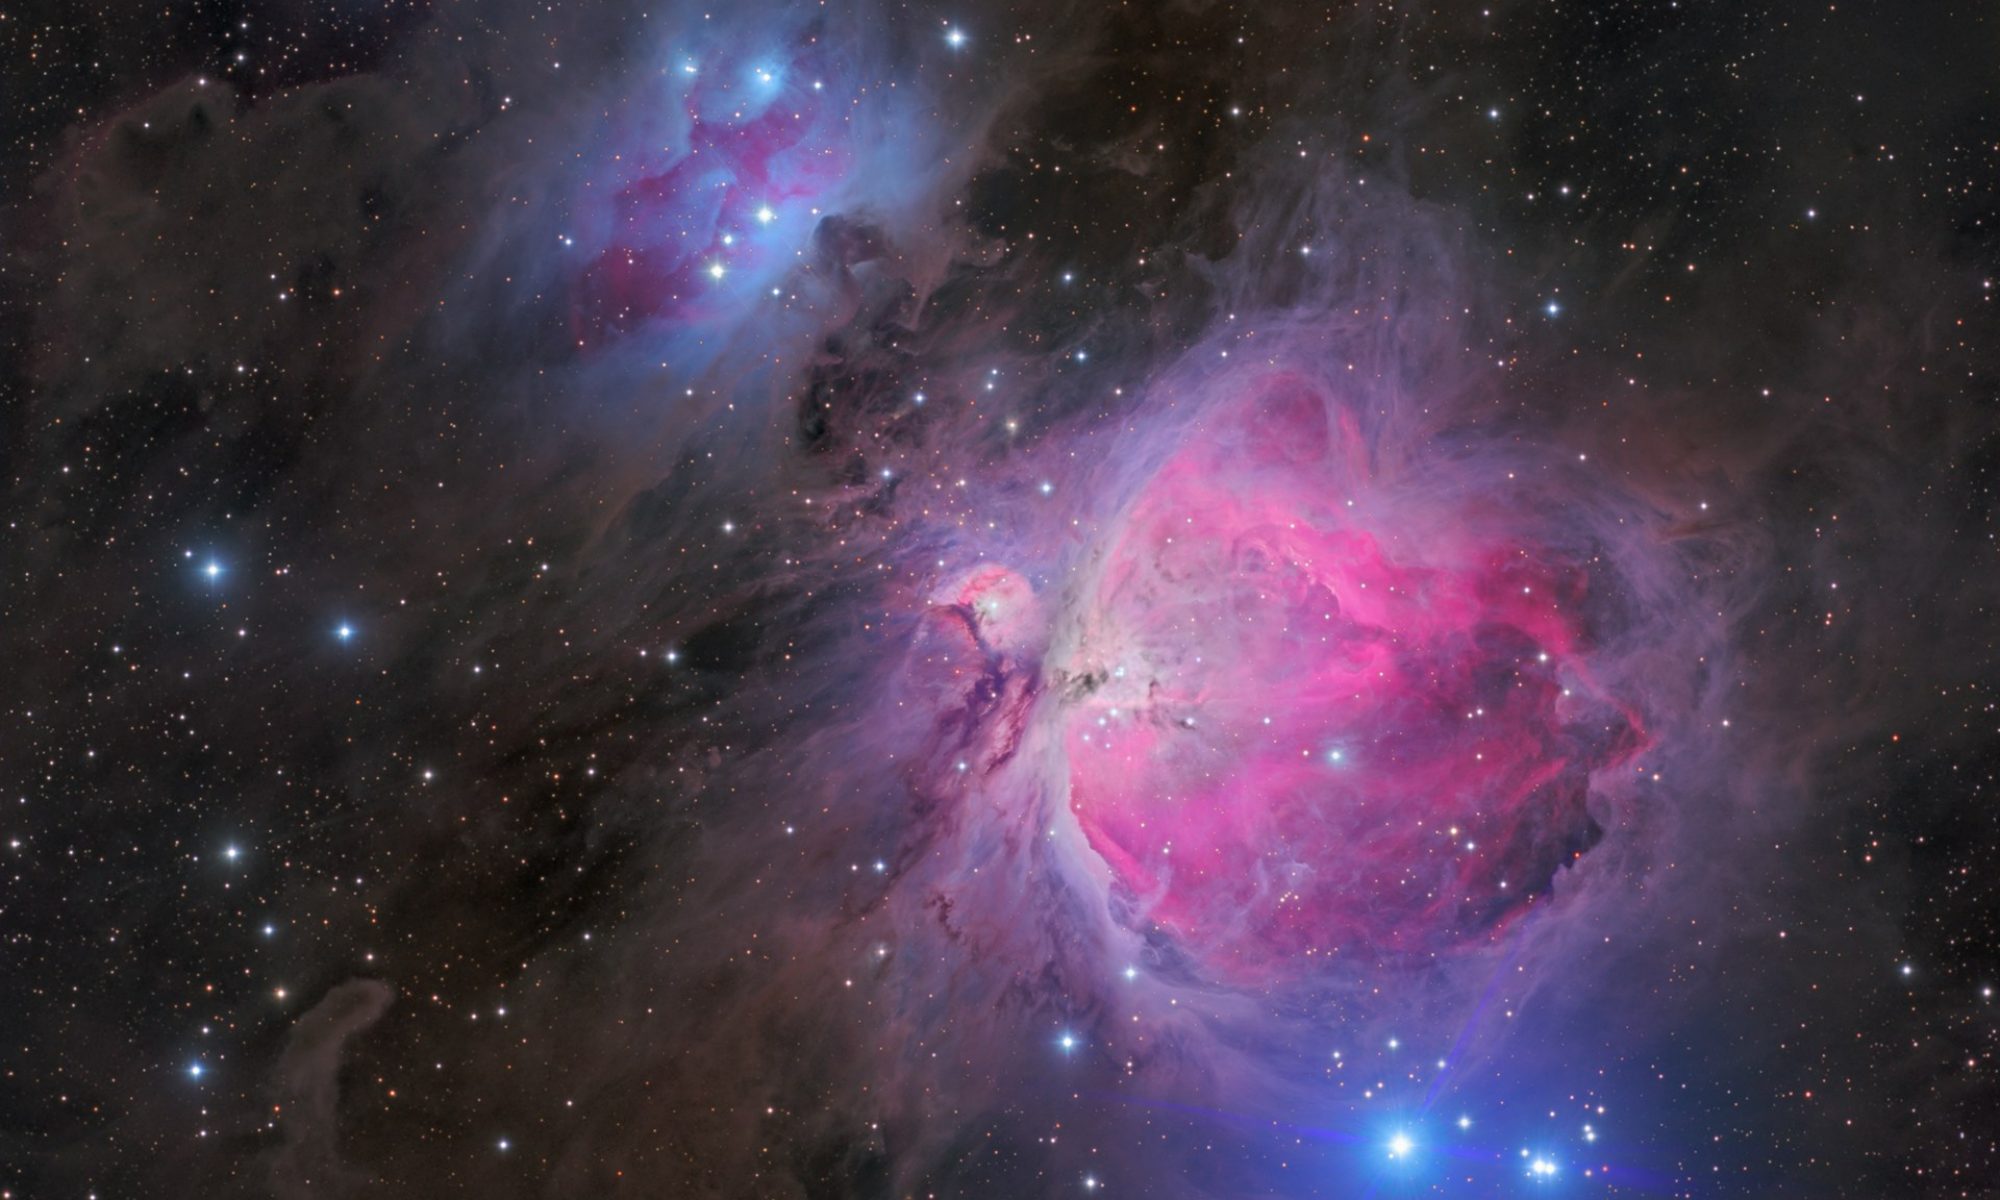
This, to me, looks fine already. With the stretch turned down a bit and saturation turned up to about 0.32;

You are correct. I was going to do flats but without going into a long story, I wasn't able to do it.
Here is a dumb question. I closed APP and want to pull up my integrated file again to do the changes. How do open the integrated file in APP after reopening APP?
@msamazing You can set the working directory to where the integrated file is. Then load it via Other/Processed to the top left of APP. You can also load it as a Light and APP will then probably show a popup indicating that it has detected that it is an integration and if you're sure you want to open it. You can safely click Yes. Either way works equally well in APP.
I was looking at your Light pollution strategy and it looks like you used 2 boxes. When I try it with 2 boxes, it says I need at least 5 boxes.
@msamazing The screenshot that Vincent placed is not of the "remove light pollution" tool but of the "calibrate star colors" tool. That one only requires one box (or more).
He mentioned the LP tool after he saw my file. I assume this is light pollution? So is the process to first use the LP tool after stretching to 30% BG, 2 sigma, 0,0% base to remove light pollution and then do the calibrate star colors? What steps in a row would you recommend?
the image looks better when I zoom in a little. Is it possible to save it as a JPEG zoomed in? I tried it but it didn't keep the zoom.
@msamazing After the integration finishes you should remove light pollution (with at least 5 rectangles) and then calibrate star colors (with at least 1 rectangle). Saving a zoomed in JPEG isn't possible in APP.
@msamazing If you look at my reply there, I mention the LP tool in step 1, the star color calibration in step 2. 😉 If you want an even more detailed step-by-step I can make that, but please allow for a day or so during the weekend.
Thank you very much and I think I am now good. This has been very helpful and I appreciate all of your assistance very much!
