
2026-10-09 APP 2.0.0-beta48 has been released !
This is mainly a bug fix release for the reported bugs in beta47. In addition it has a significant User Interface performance improvement noticable when you need to process 1000s of images in APP.
2026-10-03 APP 2.0.0-beta47 has been released !
This is a very big release... many code optimizations/rewrites, many parts of APP are much faster and more precise, especially star analysis and registration are much faster ! Big mosaics will go much faster 🙂
And we introduce a new preview filter, which includes the new Adaptive Deep Sky Stretch and a General Levels Stretch, this has been long over due. The old preview filter (the panel on the right side to stretch and preview your data) has not been updated for a couple of years and it is a critical part of any APP session.
Adaptive Deep Sky Stretch or ADSS is a much more intuitive stretch algorithm. It is also color preserving (which is a great new addition in itself ! ) which means that the highlights are no longer bleached, color is maintained from the linear data while stretching. You can simply stretch your data using the sky background level and signal width sliders which work much easier and more intuitive. You no longer need to fiddle with the old complicated sliders with zoom buttons. All the zoom buttons for the sliders are made redundant. And you can enter slider values in the slider value fields yourself. I will make a youtube video in the coming days to explain and fully introduce ADSS. Once the video is ready, it will be highlighted on the forum.
RGB Combine upgrade !. The RGB Combine Tool has been rewritten mostly. The tool is faster and easier to use and most importantly, the Luminance slider to inject a luminance channel or channels into the RGB composite is now working correctly. It no longer bleaches the RGB colors. Combined with the new ADSS preview, you will get much better and easier great composites with great color! I will also explain this in a new youtube video.
Hi,
I am an astro-beginner. Don't have a fancy equipment. Panasonic FZ1000 super-zoom camera and iOptron tracker.
Here's my first result after acquiring the iOptron. (cropped).
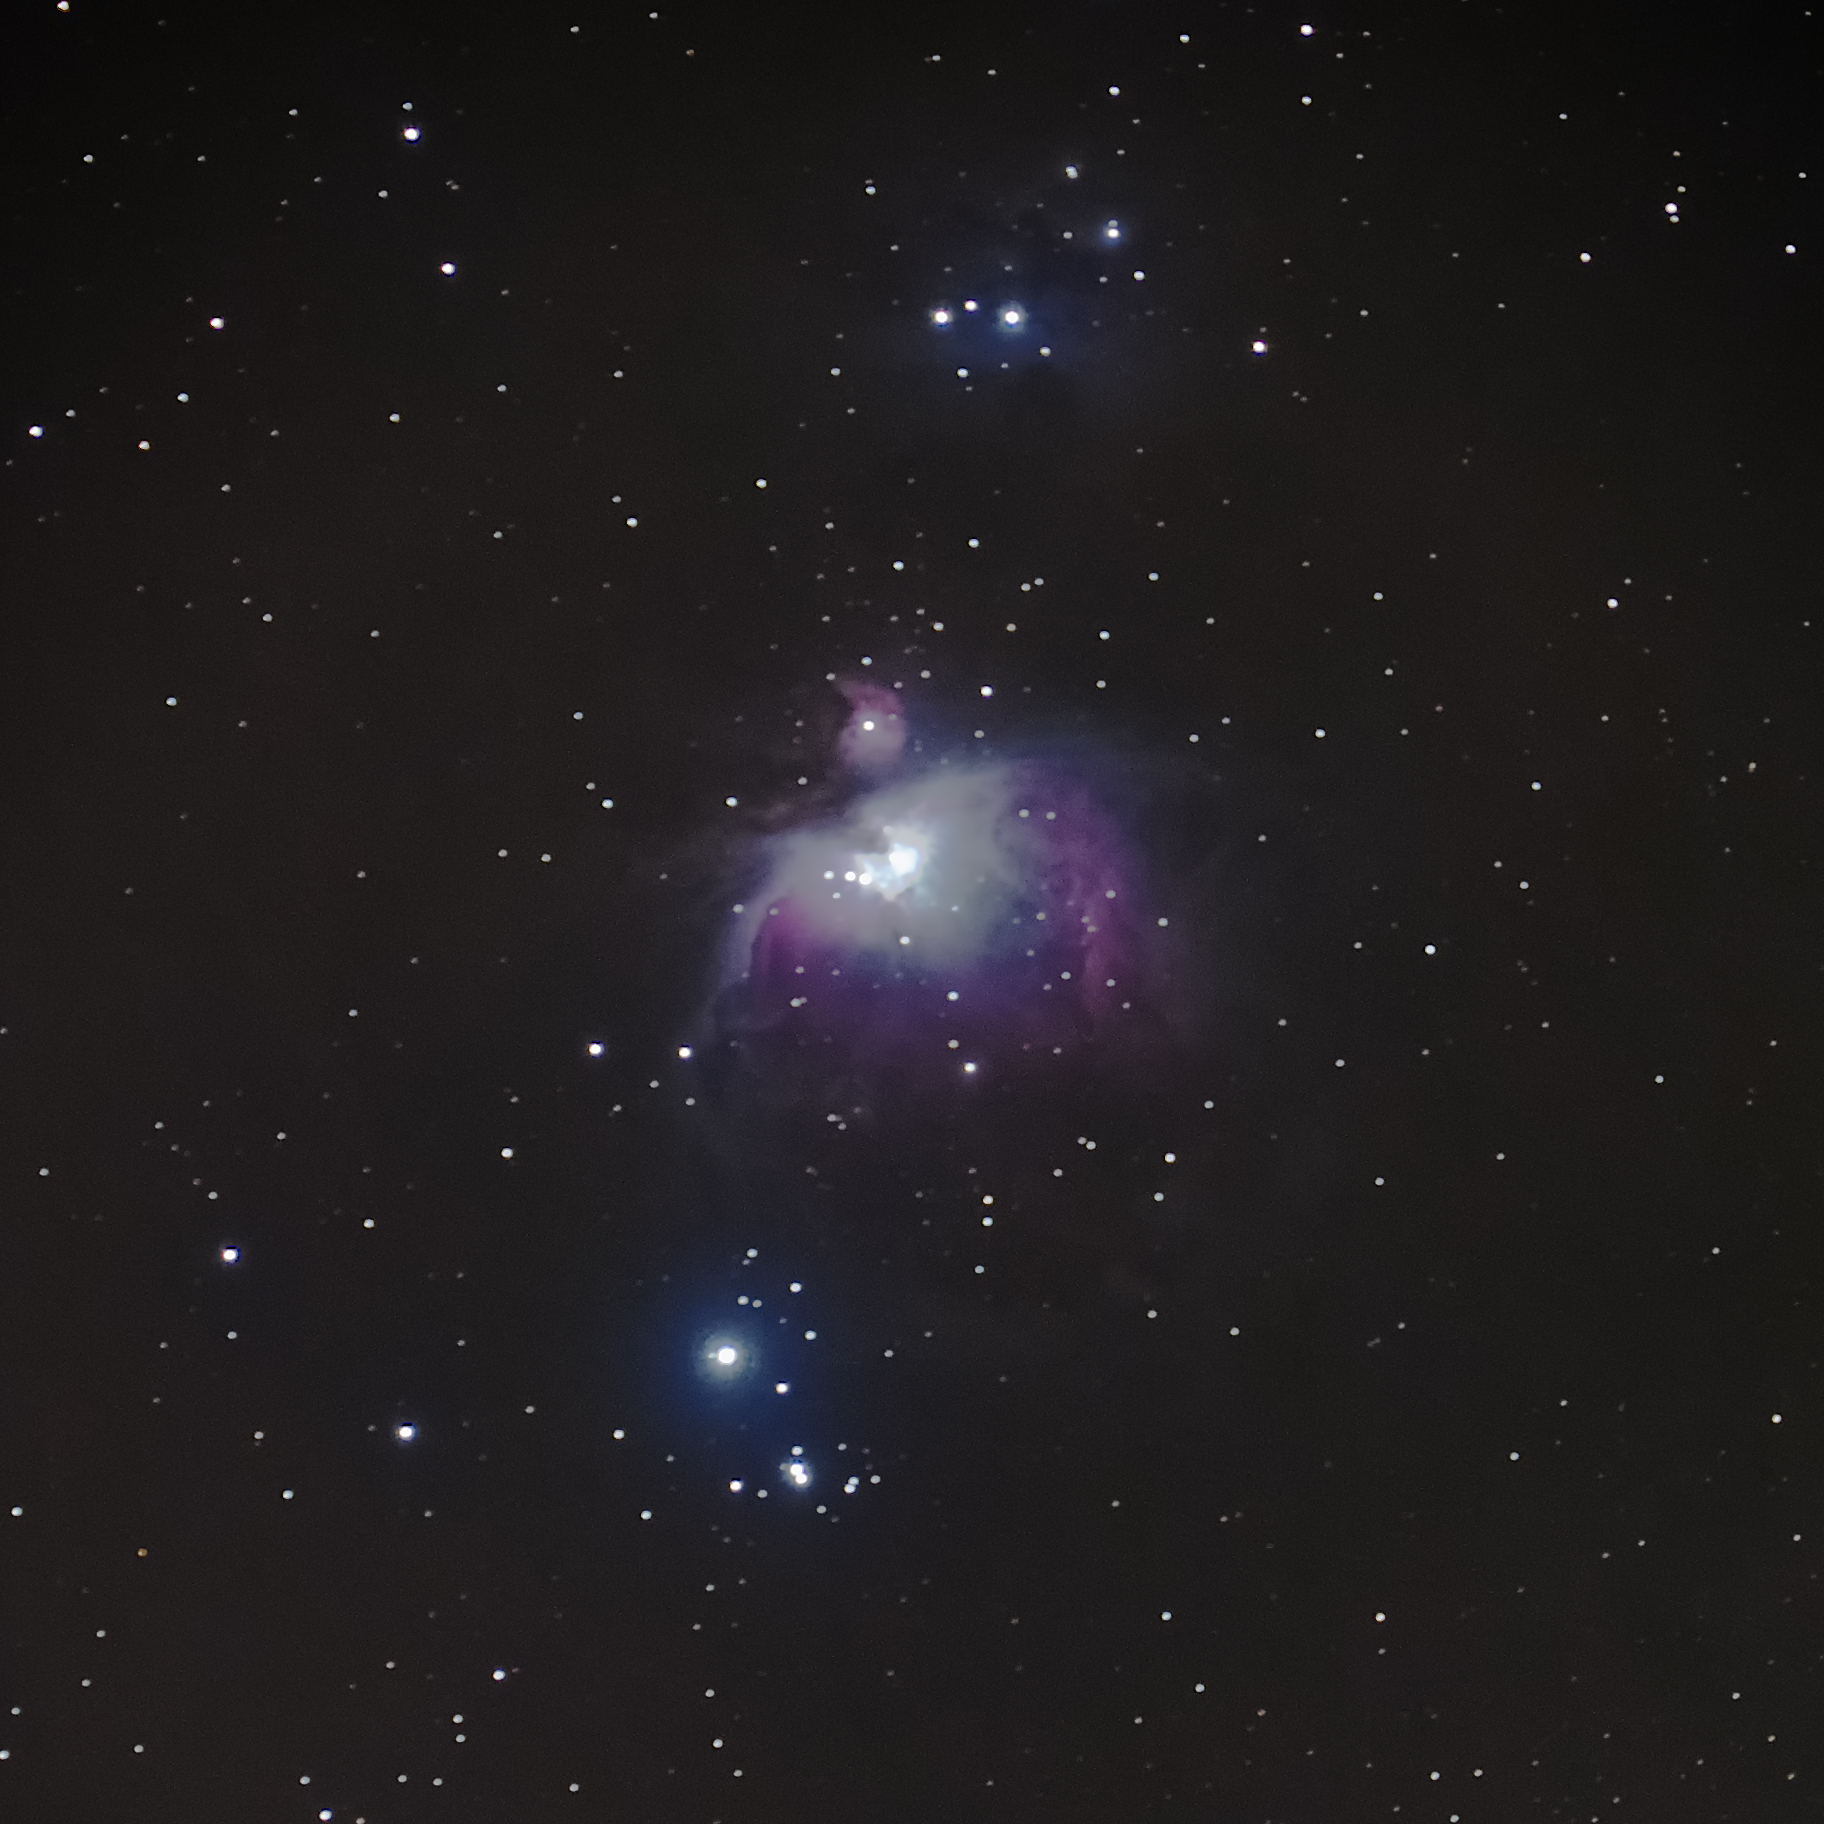
The problem is - I am getting a terrible vignetting in the center of the frame.
Here's one of the light frames (contrast exaggerated):

Here's one of the flat frames (contrast exaggerated):

Here's the integrated result from APP (contrast exaggerated):
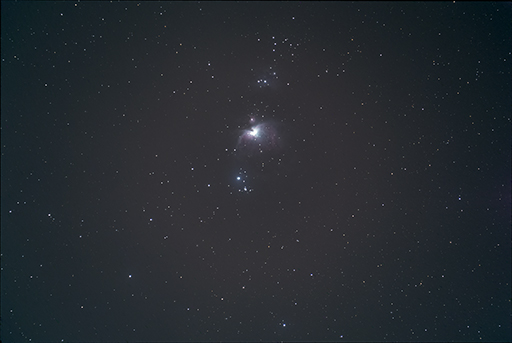
Vignetting is still there... I tried DSS and Sequator they both produced similar results (to each other). APP is a bit better.
I tried to acquire the flats several times using different setups but the end result was the same.
Any ideas/suggestions?
Thanks!
Max
Hi Max @maxthebuilder,
Thank you for your question and welcome to the APP forum 😉
Let's start at the beginning, I assume that your using either converted TIFF frames from your Panasonic Raws or JPGs directly from your camera ? Which is it?
Did you shoot bias frames? They are at least needed to get the flat calibration working probably.
Mabula
Hi Mabula,
Thanks for your reply!
-- I use 16b tiffs converted from RW2 raws in Adobe Camera Raw (without any correction). 30 frames.
-- I used flat, black and bias frames. 12 frames each.
Again, the end result is a bit better than DSS/Sequator.
APP has so many options, I am sure the result could be improved.
Thanks!
Max
Hi Max @maxthebuilder,
Okay, the TIFFs would probably still be non-linear but should be of good quality.
Are you aware of the difference between the linear data that your camera's sensor measures and the non-linear version that is presented to you on the camera's display and most likely also by the Adobe Camera Raw converter ?
The non-linearity of the data is probably the main cause why flat-field calibration is not working. But APP provides 2 methods to possibly get a better result.
- Forget for now the flat, dark and bias frames that you have. And just load a single light frame in the correct vignetting tool. Try to get a good correction model and save the correction model as an artificial flat.Then load al your lights and this artifiicial masterflat and check how the calibration looks with the l-calibrated image viewer mode above the image viewer. This method does not correct dust in your optical path, but it might correct removing the vignetting.
- Or stick with the result that you have now and try to correct it with the Remove Light Pollution tool, to get a flat sky background.
Both tools in both method require you to place area select boxes on parts of the image where there is only sky background.
Let me know if this helps or if you need more assistance.
Mabula
