15th Feb 2024: Astro Pixel Processor 2.0.0-beta29 released - macOS native File Chooser, macOS CMD-Q fixed, read-only Fits on network fixed and other bug fixes
7th December 2023: added payment option Alipay to purchase Astro Pixel Processor from China, Hong Kong, Macau, Taiwan, Korea, Japan and other countries where Alipay is used.
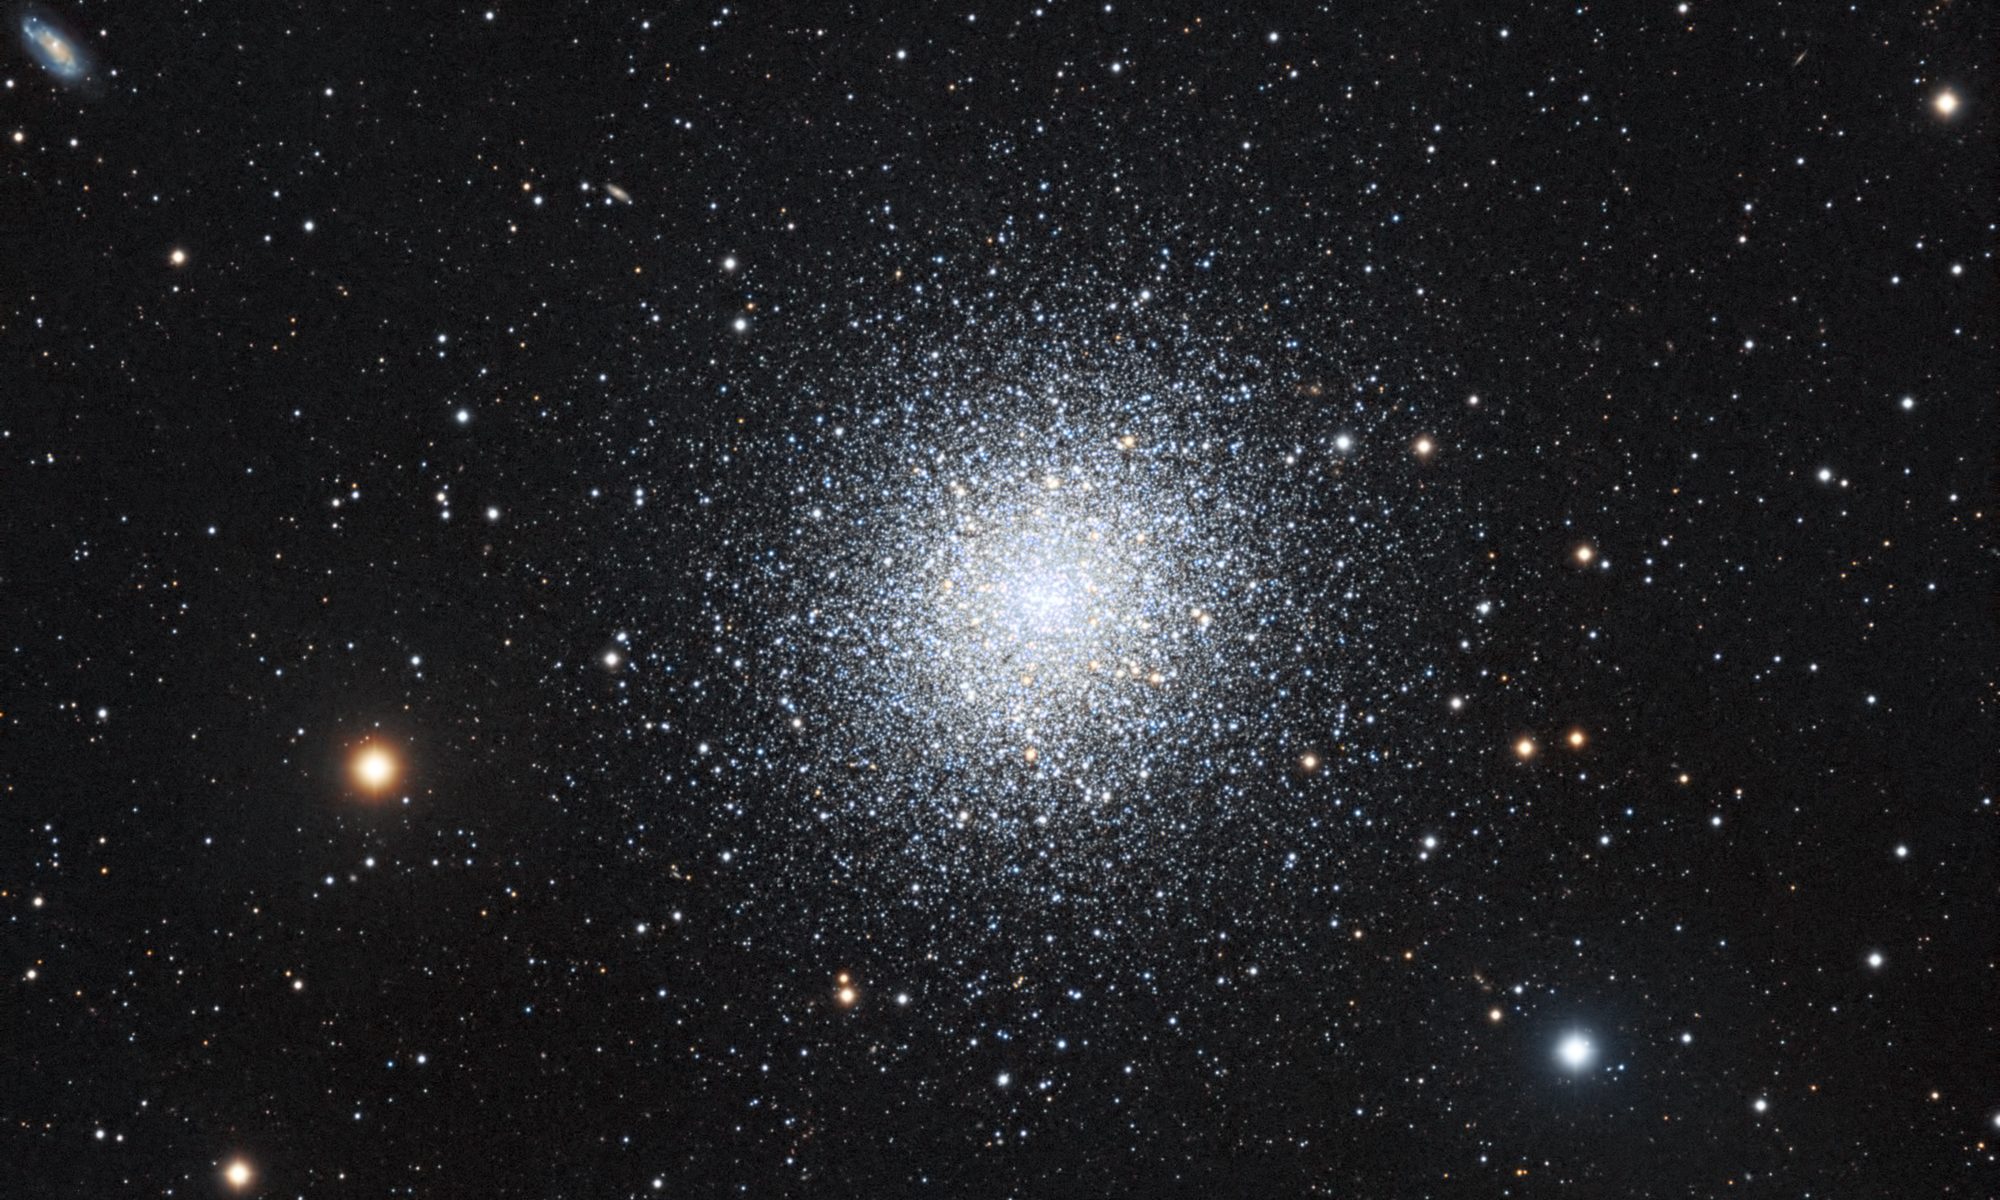
[Sticky] HaRGB and LHaRGB workflow and star color calibration
Thank you Stratos for sharing your data with us 😉 I have had a go myself since I am actually working to improve HaRGB and LHaRGB composites for a future APP release.
The workflow to do star color calibration on a HaRGB (or a LHaRGB) is not recommended, in fact it is physically a wrong step. You need to do star color calibration on broadband data. If you add narrowband data in the mix and then try to perform star color calibration on a broadband+narrowband composite, it would be mere coincidence if the colors look good...
Star color calibration needs broadband data to make sense of the star color physics. Adding narrowband data in there will cause the R/G B/G ratio's of the stars in your data to be polluted by the narrowband signals. Those narrowband signals don't follow the physics at all that we use for star color calibration.
So how to do this properly then?
1) create a RGB (or LRGB compositie), in this case I used formula RGB 2 in the RGB Combine tool
2) perform Remove Light Pollution and Background Calibration on the RGB composite ( ! if you perform Remove Light Pollution, you automatically perform Background Calibration, there is no need to do it again after Remove Light Pollution)
3) Perform Star Color Calibration on this RGB composite that is corrected for light pollution and is background calibrated:
4) We know open the RGB Combine tool and will add the H-alpha layer. Now, these next 2 steps are essential to preserve the RGB Star Color Calibrated colors in your composite:
set normalize to none in the RGB Combine tool.
Load the RGB star color calibrated result into the tool with the RGB 1 formula
These 2 steps will preserve the colors of the star color calibration 🙂 !
5) Add the H-alpha layer in the RGB Combine tool.
6) To preserve the colors and luminance of your star color calibrated result, set the luminance for the composite so that it is preserved. Normally you want Red to contribute for roughly 20%, Green for 70% and Blue for 10%.
7) And slightly add H-alpha to red, I added it for 23% to Red as can be seen in the below screenshot. Now to maintain the star colors, you need to gently adjust the multipliers for the R,G,B channels as can be seen as well. Red 1,15, Green 1,17, Blue 1,20. These factors do depend on the data, you need to do this carefully. Try to get the same colors as the star color calibrated result off course 😉
I am working to make this more automatic and easier for the user off course, but this is a proper workflow in which you can get good star colors with narrowband included to enhance the active regions in this case of M51 😉
This show the star color calibration result next to the final HaRGB composite: we see that star colors are still good and we also see much more enhanced active regions in M51 from the H-alpha data, top is the RGB composite after star color calibration, below is the finals HaRGB composite with the same star colors 🙂 :
Let me know if this is clear and/or if you have any questions about this workflow 😉
Crop of the field of view of the final HaRGB:
Cheers,
Mabula
This topic was modified 4 years ago by Mabula-Admin
I placed rgb composite with star color calibration etc in the combine , rgb 2 in fits
Than i did a combine with the load Ha and O3 and no check on force bayer. also in fits
When i placed this stack in combine rgb1 and clicked combine i got that the depth and fit were incompatible and i could not get a combine of the processed RGB and the Stack and processed Ha, O3 { the L-enhanced ] filter
What am i doing wrong?
I have to say that with theL-enhance filter doing a regular OSC processing and finiishing in Photoshop with Starzonia plug in i get good results. So can i improve this action with this work flow if you can give me a clue as to what i am doing wrong
Does that mean that I cannot use my l-enhance filter when I gather my RGB data with a OSC.
Correct me please ,,,As I understand this I should take RGB data and process. Than take another set of data with the L -enhance filter and process as Ha and O3 .
You can yes, you can place a narrowband filter on your OSC camera, the only difference will be that you need to expose longer as there's less sensor available to capture the specific wavelengths that your filter is letting through. With a mono sensor, the entire sensor can be used.
So what you do is to capture RGB data without filter (or one that still lets through most of that data) in one session and in the next you add the filter you want and take that data and then you combine that later in RGBCombine using a specific workflow.
Is there a detailed process here because I'm trying exactly this:
- Same OSC camera
- multiple filters - one is more a basic light pollution filter and the other is a UHC and Lenhance filter
I can change the (0) algrithm and get it to extract Ha and OIII, but am getting normalisation errors when trying to combine say (1) a normal colour stack (2) a Ha stack (3) an oIII stack. It keeps bombing out in the normalisation phase with that weird error.
So I've seen errors in normalisation, errors in the RGB combine tool method too.
What is the best way to do this please?
(here is the screen shot of the error I'm seeing when trying to process the image)
Did you follow the guide in the first post of this thread (click here!)? If you follow that it should work, it's because you didn't split your RGB into separate channels.
Thanks for point this out, that's exactly what I was looking for.
One other question though please, with these steps referring to above, (see below to save you looking for them)
1. Stack and integrate the color files as you normally would but do no post processing on it yet.
2. Clear the input files out of APP (or close and restart it) and load in the stacked integrated color file as a light file.
3. Click on the Calibrate tab (tab 2) and scroll to near the bottom and check the "Split Channels" and click on Save Calibrated Frames. This will then split your composite color image into 3 RGB images that have all been preprocessed. These are the three files you will combing with the NB files
In step (2), what algorithm do I use when loading the light frame? I was going to use Adaptive Airy Disk. Does that sound OK?
Ok I tried with this procedure and thought I was making some progress. It failed in normalisation again. It sat there on 80% for a very long time and when I came back around 2-3 hours it was showing normalisation errors again. I'm running v1.082